


Client onboarding automation is a system that handles repetitive administrative tasks - welcome emails, intake questionnaires, contracts, and kickoff scheduling - without manual effort. Using tools like Calendly, Zapier, and Notion together, a new client can book, complete intake, and receive their project portal automatically, eliminating the 10-15 hours per client typically lost to administrative work.
This guide walks through a complete, real-world system for automating client onboarding using Calendly, Zapier, and Notion - from first booking to project kickoff in 2026.
Every professional service business faces the same bottleneck: a promising sales call ends, the prospect says yes, and then you spend the next 48 hours doing the same repetitive work you did for the last client. Send a welcome email. Send a questionnaire. Follow up when they don’t fill it out. Collect the signed contract. Set up their project folder. Schedule the kickoff call. Send the kickoff agenda.
Multiply that by ten clients a month, and you’re burning 10-15 hours per client just on administrative onboarding - before you’ve done a single hour of actual work.
Client onboarding automation with AI tools solves this - and there are strong automation examples across professional services that prove it works. When set up correctly, a new client can book, complete intake, receive their contract, and get scheduled for a kickoff call without you touching anything. The system handles the mechanics so you handle the relationship. This sits squarely at Level 3 of the AI workflow automation maturity model.
This guide gives you the complete playbook - including an automation template, automation pdf reference, and Zapier automation course pointers - covering what to automate, which tools to use, and the exact workflow to build. It also touches on lead generation automation as an upstream complement.
Client Onboarding Automation: The TL;DR Stack
Client onboarding automation covers the strategies and tools that turn a 75-minute manual sequence into a 10-minute review. This guide walks through the practical steps from setup through advanced optimization, using Calendly, Zapier, and Notion as the core stack.
| Tool | Role in Onboarding | Starting Price |
|---|---|---|
| Calendly | Booking + intake form capture | Free, paid from from $10/month annual |
| Zapier | Automation glue connecting everything | Free, paid from $19.99/mo |
| Notion | Client portal + document hub | Free, paid from from $12/month |
How they work together: Calendly captures the booking and initial intake data. Zapier detects the new booking and triggers the welcome sequence - email, questionnaire, contract, Notion portal creation. Notion becomes the client’s home base for documents, project details, and communication. The whole sequence runs without you.
Why Most Onboarding Fails (And What to Fix)
Before building the automation, it helps to understand where manual onboarding breaks down:
The follow-up problem. You send a welcome email and a questionnaire. The client doesn’t respond within 24 hours. You forget to follow up. Three days pass. The client feels ignored. You’ve lost momentum before the engagement has started. Research from Nielsen Norman Group on response time limits confirms that delays of more than 10 seconds lose user attention - delays of days in onboarding lose clients entirely.
The inconsistency problem. When onboarding is manual, different clients get different experiences depending on how busy you are that week. Your best clients in your busiest months get the worst onboarding.
The context-switching problem. Every time you stop actual work to send an onboarding email, you lose 20-30 minutes of deep focus. Multiply by dozens of touchpoints per client.
Automation fixes all three. Follow-ups happen on schedule regardless of how busy you are. Every client gets the same high-quality experience. And the whole process runs in the background while you do actual work.
Step 1: How Do You Automate Scheduling with Calendly?
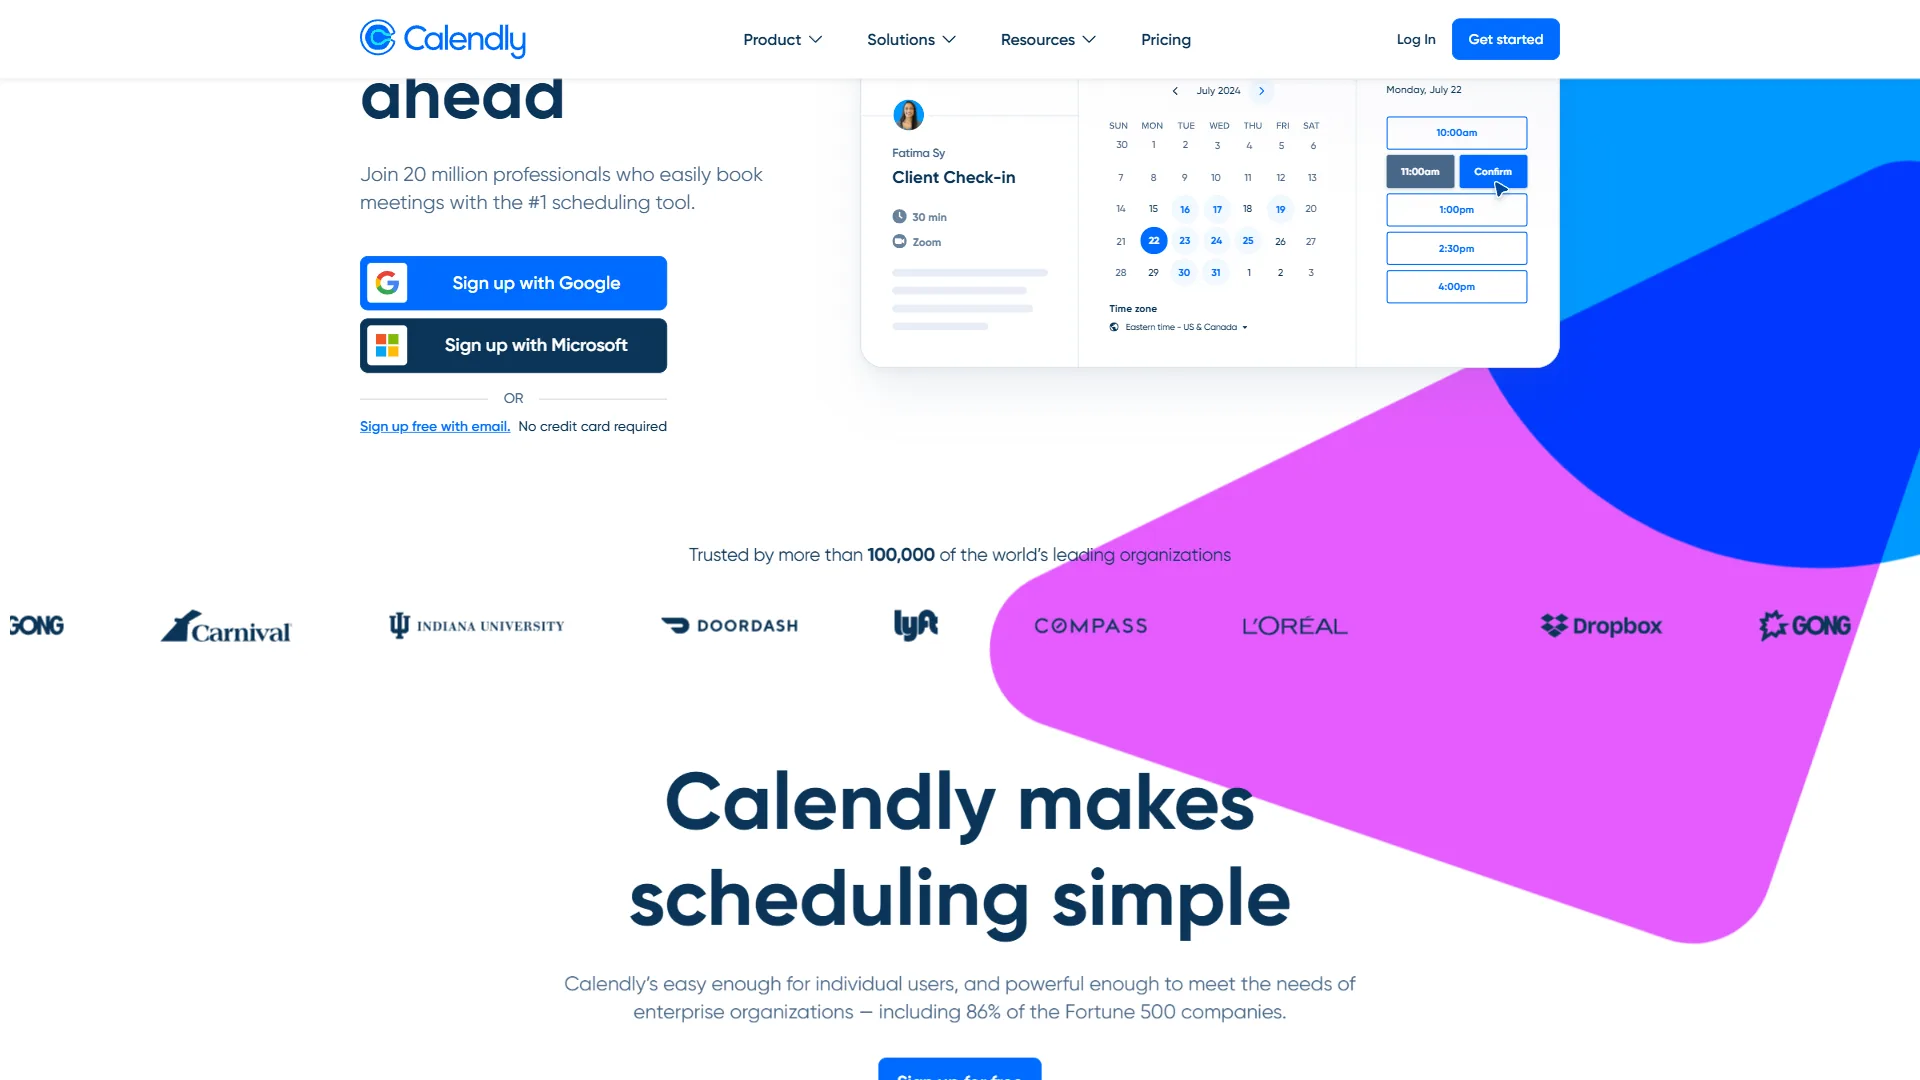
The onboarding funnel starts when a prospect books a call. Calendly turns this into a data-capture event, not just a scheduling action.
How Do You Set Up Your Intake Event Type?
Create a dedicated event type for new client discovery calls. Under Invitee Questions, add fields that capture everything you’d normally ask in a pre-call email:
- Company name and website
- What they’re looking to achieve (free text, 500 char limit)
- Current biggest challenge
- Budget range (multiple choice - ranges, not exact figures)
- How they heard about you
- Preferred communication style (email, Slack, WhatsApp)
When the client fills this in to book, you receive a detailed intake profile before the call begins. You walk in prepared. The data also feeds directly into Zapier to trigger the automated onboarding sequence.
Calendly Confirmation and Reminder Settings
Under Notifications and Cancellation Policy, configure:
- Confirmation email: Customize with your brand voice and a preview of what to expect
- 24-hour reminder: Include the call agenda and any prep materials
- 1-hour reminder: Simple logistics reminder (link, dial-in)
These three automated touchpoints replace emails you’d otherwise send manually. For clients, it signals professionalism before you’ve spoken.
Pricing Note
The basic event type with custom questions is available on the Standard plan ($10/month annual/user, billed annually). The Teams plan adds AI routing features useful if multiple team members handle discovery calls. See the Calendly pricing page for current tier details.
Step 2: Automated Welcome Sequence with Zapier
Once a prospect books via Calendly, Zapier takes over. The trigger is the new Calendly booking - Zapier detects it and fires a sequence of automated actions.
The Core Zapier Trigger
Trigger: Calendly - New Invitee Created in Zapier
This fires every time someone books your intake event type. The trigger payload includes all the invitee questions they answered, their name, email, booking time, and event details.
Action 1: Send a Personalized Welcome Email
Use Gmail (or your email provider) to send a welcome email. The key is personalization using the intake data:
Subject: Welcome, {{first_name}} - here's what happens next

Hi {{first_name}},

Thanks for booking a call for [booking_date].

Looking forward to discussing {{their_answer_to_challenge_field}}.

Before we talk, there are two quick things:
1. [Complete your onboarding questionnaire →] (link)
2. [Review our service agreement →] (link)

Both take under 10 minutes and help us hit the ground running.

See you on [booking_date] at {{booking_time}}.
Because Zapier pulls first_name and the challenge field directly from the Calendly intake, every email reads personal even though it’s automated. This is the core mechanic of AI-powered onboarding: structured data enables personalization at scale.
Action 2: Create a CRM Record
If you use a CRM (HubSpot, Pipedrive, or even a Notion database), add a second action to create a new contact or deal record. Map the Calendly fields to your CRM fields. This ensures every prospect is tracked from first contact without manual data entry.
Action 3: Send the Onboarding Questionnaire
For deeper intake, send a link to a separate questionnaire (Typeform, Jotform, or Google Forms work well). Zapier can send this as a second email with a time delay - set the delay to 30 minutes after the first email so it doesn’t arrive simultaneously.
A good onboarding questionnaire covers:
- Current tools and tech stack
- Key stakeholders and decision-makers
- Success metrics and KPIs
- Timeline expectations
- Previous experience with similar services
The responses feed into Zapier as a second trigger, which can then automatically populate your Notion client portal (covered in Step 4).
Step 3: Document Collection Automation
Collecting contracts, NDAs, and onboarding documents is where most service businesses lose days. Clients say they’ll sign “tomorrow” and you’re following up a week later.
Contract Automation with E-Signature Tools
Connect your e-signature tool (PandaDoc, DocuSign, or HelloSign) to Zapier. When the new Calendly booking fires, one of the Zapier actions sends a contract template pre-filled with the client’s name and company from the intake data.
Zapier action: PandaDoc - Create Document from Template
Map the following fields from the Calendly trigger:
invitee_full_name→ Client Name on contractanswer_to_company_field→ Company Nameanswer_to_budget_field→ Service tier (if you have tiered pricing)
The client receives the contract within minutes of booking, while they’re still engaged. Response rates are dramatically higher than contracts sent a day or two later.
Automated Follow-Up for Unsigned Documents
Add a Zapier delay step followed by a conditional check. If the contract hasn’t been signed after 48 hours, trigger a follow-up email. Most e-signature platforms expose a “document status” field that Zapier can read.
This single automation eliminates the awkward “just following up” emails that many service providers dread sending.
Step 4: Client Portal Setup with Notion
Once the contract is signed, Notion becomes the client’s home base for the entire engagement.
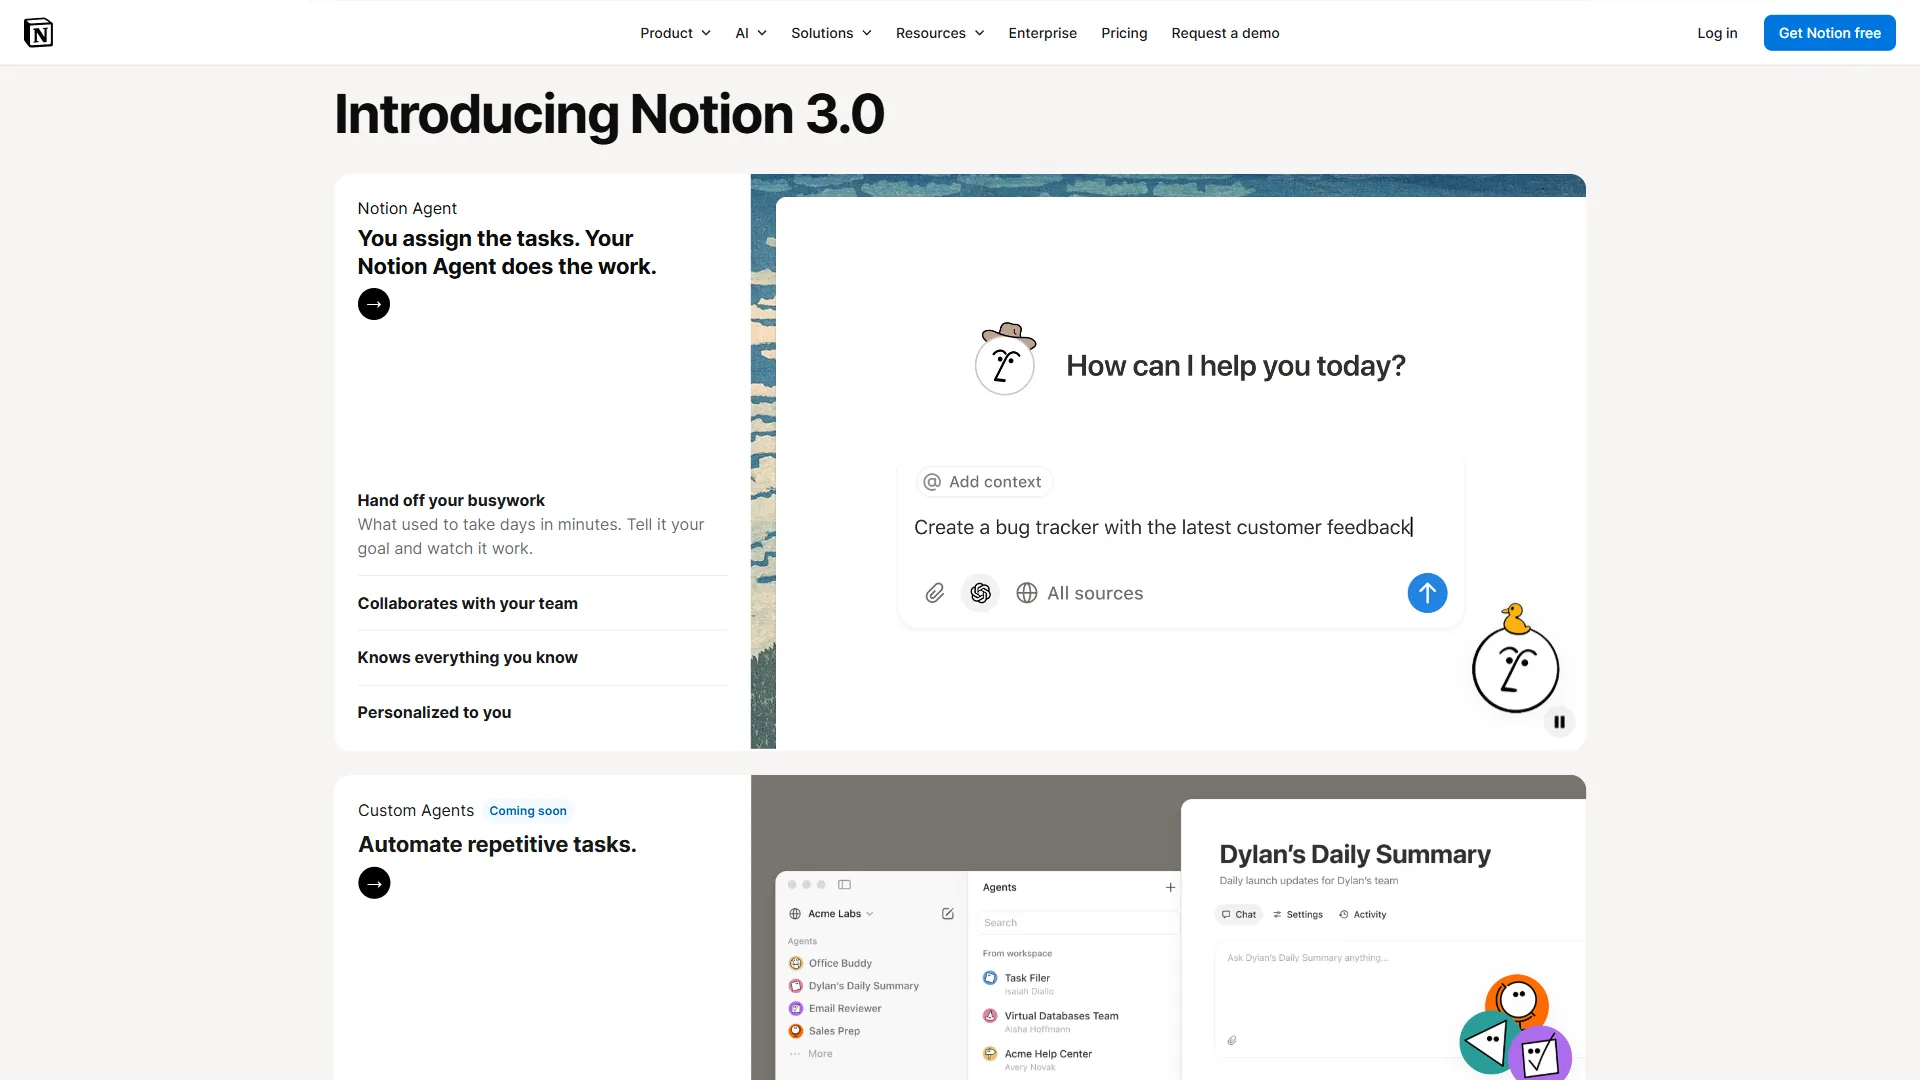
Building the Client Portal Template
Create a master Notion template with the following sections:
Project Overview
- Engagement summary
- Key contacts (both sides)
- Start date, milestones, end date
- Scope of work summary
Documents
- Signed contract (linked)
- NDA (if applicable)
- Brand guidelines or reference materials
- Deliverables (linked to project database)
Communication
- Meeting notes database
- Action items tracker
- Q&A log
Resources
- Links to relevant tools, assets, or reference pages
- Training materials or guides specific to the engagement
Automating Portal Creation with Zapier
Using the Notion API via Zapier, you can duplicate the master template and populate it with client-specific data automatically.
Zapier action: Notion - Create Page from Template
Trigger: New row added to your CRM database (or when the contract is signed in PandaDoc).
Map fields:
- Page title:
[company_name] - Client Portal - Client name property:
[invitee_full_name] - Start date property:
[booking_date] - Project type:
[answer_to_service_type_field]
The portal is created, pre-filled, and ready to share - without you opening Notion.
Sharing the Portal
Add a final Zapier action to send the portal link to the client via email. Use a warm, human-sounding template:
Subject: Your [company_name] project hub is ready

Hi {{first_name}},

Your project portal is set up and ready. This is where
we'll share deliverables, track progress, and keep
project notes organized:

[View your project hub →] {{notion_page_url}}

I'll see you on {{kickoff_date}} to walk through everything.
Step 5: Contract and Payment Automation
For businesses that collect payment upfront or on signing, connecting your payment system to the onboarding sequence adds another automated layer.
Stripe + Zapier Invoice Automation
If you use Stripe:
- Create a Stripe payment link for the deposit or first invoice
- Embed it in the contract (PandaDoc supports payment links natively)
- Set up a Zapier trigger: Stripe - New Payment
- Actions: Update CRM status to “Active Client,” create Notion portal, send kickoff call invite via Calendly
This creates a fully automated funnel: booking → contract → payment → portal creation → kickoff scheduling. No manual intervention at any stage.
Payment Reminders
Use Zapier’s delay feature to send automated payment reminders if a Stripe invoice isn’t paid within 5 days. Keep the tone professional and assume good faith - a simple “Just a quick reminder that invoice #XYZ is outstanding” outperforms aggressive dunning language in response rate.
Step 6: First Project Kickoff Workflow
The final automation loop closes the onboarding sequence by scheduling and preparing the kickoff call.
Automated Kickoff Scheduling
When the contract is signed and payment received (or at signing, if you invoice later), trigger a Zapier action that sends the client a Calendly link to a dedicated “Kickoff Call” event type. This event type should:
- Be 60 minutes, not 30
- Pre-populate with the client name and company from your contact database
- Include a Calendly confirmation that sends the Notion portal link and kickoff agenda
Pre-Kickoff Briefing Document
Create a Zapier automation that, 24 hours before the kickoff, generates and sends a briefing document. This can be a Notion page or a simple email summarizing:
- Their goals from the intake form
- Scope agreed in the contract
- First 30-day milestone plan
- Items you need from them before kickoff
Clients who receive this are visibly more prepared and engaged in kickoff calls. It signals that you’ve already been working on their account.
The Complete Automation Workflow: All Three Tools Together
Here’s the full sequence that runs when a new client books:
1. CLIENT BOOKS via Calendly intake form
   → Answers: company, challenge, budget, comms preference

2. ZAPIER TRIGGER fires on new Calendly invitee
   → Action A: Send personalized welcome email (Gmail)
   → Action B: Create CRM contact (HubSpot/Notion DB)
   → Action C: Send onboarding questionnaire (Typeform link)
   → Action D: Send contract for signature (PandaDoc)

3. CLIENT COMPLETES QUESTIONNAIRE
   → Zapier trigger: New Typeform submission
   → Action: Populate Notion portal with questionnaire answers

4. CLIENT SIGNS CONTRACT
   → Zapier trigger: PandaDoc document signed
   → Action A: Create Notion client portal from template
   → Action B: Send payment link / Stripe invoice
   → Action C: Send portal link to client

5. PAYMENT RECEIVED
   → Zapier trigger: Stripe payment succeeded
   → Action A: Update CRM to "Active Client"
   → Action B: Send Calendly kickoff booking link
   → Action C: Notify internal Slack channel

6. KICKOFF CALL BOOKED via Calendly
   → Confirmation email sent automatically
   → 24hr before: Zapier sends kickoff briefing document
This entire sequence runs without you touching it. The client experience is faster, more professional, and more consistent than manual onboarding - and it scales to any volume.
ROI: How Much Time Does This Save?
Here’s a realistic calculation for a service business onboarding 10 clients per month:
Manual onboarding (per client):
- Welcome email: 5 min
- Questionnaire follow-up: 10 min (usually 2-3 back-and-forths)
- Contract prep and sending: 15 min
- Document follow-up: 10 min
- Portal/project setup: 20 min
- Kickoff prep: 15 min
- Total: ~75 minutes per client
Automated onboarding (per client):
- Review intake responses: 5 min
- Occasional exception handling: 5 min
- Total: ~10 minutes per client
At 10 clients/month, that’s 10.8 hours reclaimed every month. For a professional billing $150/hour, that’s $1,620 of productive capacity freed up - for a stack that costs a fraction of that freed capacity each month.
Common Setup Mistakes (And How to Avoid Them)
Mistake: Over-automating too early
Don’t automate everything on day one. Start with the highest-friction step in your current process. For most businesses that’s the post-booking welcome sequence (Step 2). Get that working, then add contract automation, then portal creation.
Mistake: Impersonal welcome emails
Use the intake data to personalize. An automated email that references the client’s specific challenge reads like a human wrote it. A generic “Thanks for booking!” reads like a robot wrote it - even if a human did.
Mistake: Not testing the full sequence as a client
Book yourself on your own Calendly link and go through every step. You’ll find broken links, missing merge fields, and timing issues that real clients would encounter. This is non-negotiable before launch.
Mistake: Missing the human touchpoint
Automation handles mechanics, not relationship. Add a 2-minute personal video (Loom’s async communication guide covers exactly why short videos outperform text in first impressions) to your welcome email that says hi and previews what’s coming. It takes 2 minutes to record once and plays for every new client. The combination of automated efficiency and personal warmth is unbeatable.
The Bottom Line
Client onboarding automation is one of the highest-ROI systems you can build for a service business. The tools are affordable, the setup is a one-time investment, and the benefits compound with every new client.
- Use Calendly to capture detailed intake at booking and eliminate pre-call email exchanges
- Use Zapier to orchestrate every automated action between signing up and kickoff
- Use Notion as the client’s professional home base for the entire engagement
- Read the building AI first workflows guide once your onboarding flow is stable - it covers the next layer of AI integration
The stack costs a modest monthly subscription combined and returns hours of time every week. More importantly, every client gets a consistent, polished experience regardless of how many clients you’re juggling.
Start with the Zapier welcome email automation this week. Once that runs for two weeks without issues, add contract automation. Then Notion portals. Build the system incrementally and each step will compound the last.
Frequently Asked Questions
What is client onboarding automation?
Client onboarding automation means using connected tools to handle the repetitive mechanics of bringing on a new client - welcome emails, questionnaires, contracts, and project setup - without manual intervention. When set up correctly, a new client can book, complete intake, receive their contract, and get scheduled for a kickoff call without you touching anything, freeing you to focus on the relationship.
How do you automate client onboarding step by step?
Start by capturing structured intake data through a Calendly event with custom questions. Use Zapier to trigger a sequence on the new booking that sends a personalized welcome email, delivers an onboarding questionnaire, and dispatches a contract via PandaDoc or DocuSign. When the contract is signed, trigger a second Zapier flow that creates a Notion client portal from a template and sends the portal link to the client. Add a Stripe payment trigger and a kickoff Calendly link to close the loop.
What tools do you need for client onboarding automation?
The core stack reviewed here is Calendly, Zapier, and Notion. Calendly captures bookings and intake data, Zapier connects everything and triggers automated actions, and Notion serves as the client portal and document hub. Combined, the three tools start at a low monthly cost and handle the full sequence from booking to kickoff.
How much time does automating client onboarding actually save?
Manual onboarding runs about 75 minutes per client when you add up welcome emails, questionnaire follow-ups, contract prep, portal setup, and kickoff prep. An automated system brings that down to roughly 10 minutes per client. At 10 clients a month, that frees up over 10 hours - worth around $1,620/month for a professional billing $150/hour. ROI typically pays back inside the first two new clients.
How does Zapier fit into the onboarding workflow?
Zapier acts as the automation layer connecting every other tool. When a new Calendly booking fires, Zapier triggers a sequence: sending a personalized welcome email, delivering a questionnaire, creating a contract via an e-signature tool, building a Notion client portal, and eventually sending a kickoff scheduling link - all without manual input. For deeper context on where this fits in your overall stack, see the AI workflow automation maturity model.
Related Guides
- AI Workflow Automation Maturity Model - Understand where onboarding fits in your overall automation strategy
- Building AI First Workflows - Strategic framework for designing AI-native processes
- Automate Approval Process No-Code - Layer approval steps into your onboarding flow
- How to Automate Invoicing with AI - Extend onboarding into automated billing
Want to learn more about Calendly?
Related Reading
- Calendly Review - Full feature and pricing breakdown for scheduling automation
- Zapier Review - Automation workflows, pricing tiers, and integration depth
- Notion Review - AI workspace features, databases, and client portal use cases
- How to Automate Invoicing with AI - Extend the automation stack to billing and payment collection
- AI Workflow Automation Maturity Model - Assess where your automation is today and what to build next
- AI Tools for Dentists - See how this onboarding stack applies to healthcare practices
External Resources
- Zapier Client Onboarding Automation Guide
- Notion Client Portal Template Gallery
- Calendly Onboarding Workflow Documentation
Related Guides
- 15 Calendly Tips and Tricks to Save 4+ Hours Weekly
- ActiveCampaign AI Features: Active Intelligence Guide
- ActiveCampaign CRM Setup: How to Set Up ActiveCampaign CRM
- ActiveCampaign Lead Scoring: Complete Setup Guide (2026)
- ActiveCampaign Shopify Integration: Complete Setup
- ActiveCampaign WordPress: Forms, Tracking & Automation
- ActiveCampaign Zapier: 10 Automations to Build Today
- AI Agent Orchestration: Patterns That Scale in 2026
- AI Avatar Video Marketing: 2026 Walkthrough for Teams
- AI Chatbots Customer Service Setup: Complete 2026 Guide