


Automate approval process no code is a method of building workflow automation without writing any code, using visual tools like Cflow to eliminate manual email chains and missed approvals. With a drag-and-drop interface, non-technical users can create multi-level approval workflows with conditional routing in under an hour, cutting approval times by 60-70%.
If you’ve ever watched a purchase order sit in someone’s inbox for three days while your project deadline looms, you know the frustration of manual approval processes. The endless email chains, the “did you approve this yet?” follow-ups, the approvals that fall through the cracks because someone was on vacation. Our AI workflow automation maturity model explains why these handoff bottlenecks dominate process inefficiency.
Here’s the thing: you don’t need a computer science degree or an IT department to fix this. With modern no-code workflow automation tools, you can build sophisticated approval processes in under an hour, without writing a single line of code.
This tutorial walks through exactly how to automate approval process no code using Cflow, a visual workflow builder that’s transformed how thousands of SMBs handle everything from expense reports to purchase orders. By the end, you’ll have a working approval workflow that routes requests to the right people, handles conditional logic based on amount thresholds, and cuts your approval time by 60-70%.
What You’ll Need
Before we dive in, make sure you have:
- A Cflow account - They offer a 14-day free trial, no credit card required. Perfect for testing before committing.
- 15-60 minutes - Basic workflows take 15 minutes. More complex multi-level approvals with conditional routing might take an hour.
- A clear approval process in mind - Even if it’s messy now, write down the basic steps: who submits, who approves, what happens next.
- Optional: Integration needs - If you want to connect with Slack, email, or other tools, have those accounts ready.
The beauty of Cflow is that you don’t need any technical skills. If you can use Google Docs, you can build an approval workflow. For a broader comparison of automation platforms, check out our best workflow automation tools for SMBs guide.
Step 1: Setting Up Your Cflow Account
First things first, let’s get you set up.
Head to Cflow and click “Start Free Trial.” You’ll need to provide basic business information (company name, role, team size) and create your account.
Once you’re in, you’ll see the Cflow dashboard. Don’t be intimidated by all the options. We’re going to start with a simple approval workflow and build from there.
Quick orientation:
- Workflows - This is where you’ll build your approval processes
- Forms - The submission forms your team will fill out
- Reports - Analytics on your approval processes (more on this later)
- Integrations - Connect with Slack, Zapier, and 1000+ other apps
For now, click on “Workflows” in the left sidebar.
Step 2: Creating Your First Approval Workflow
Let’s build a basic purchase order approval workflow. This is one of the most common use cases and it’ll teach you the fundamentals you can apply to any approval process.
Click the blue ”+ New Workflow” button in the top right.
You’ll see a blank canvas with a visual workflow builder. Think of this like drawing a flowchart, except it actually does stuff.
Here’s what we’re building:
- Employee submits purchase order request
- Request routes to their manager for approval
- If approved, purchase order is created
- If rejected, employee gets notified
Let’s build it:
-
Add a trigger: Click ”+ Add Trigger” and select “Form Submission.” This starts the workflow whenever someone fills out your PO request form.
-
Create the form: Click “Create New Form.” Add these fields:
- Requester Name (auto-filled from user profile)
- Item Description (text field)
- Vendor (text field)
- Amount (number field)
- Business Justification (text area)
- Category (dropdown: Equipment, Software, Services, Supplies)
-
Add an approval step: Drag the “Approval” action onto your canvas. Connect it to your trigger with a line (click and drag from the trigger’s output dot to the approval’s input dot).
-
Configure the approver: Click the approval step. In the settings panel, select “User’s Manager” as the approver. Cflow will automatically route to whoever is set as the submitter’s manager in your org chart.
-
Add conditional branches: Drag two “Condition” nodes onto the canvas. Connect one to “Approved” and one to “Rejected.”
-
Configure outcomes:
- Approved path: Add an “Email Notification” action that sends a confirmation to the requester and procurement team
- Rejected path: Add an “Email Notification” that notifies the requester with the rejection reason
Click “Save Workflow” and give it a name like “Purchase Order Approval.”
Congratulations - you just built your first automated approval workflow. But we’re not stopping there.
Step 3: Configuring Multi-Level Approvals
Most organizations need more than one approval signature, especially for larger purchases or sensitive requests. Let’s add multi-level approval logic.
Scenario: Purchase orders under $500 need manager approval. Orders $500-$5000 need manager + department head approval. Orders over $5000 need manager + department head + CFO approval.
Here’s how to build that:
- Add a Condition node right after the form submission trigger
- Set the condition: “If Amount is less than $500”
- Connect the “Yes” path to a single approval step (manager only)
- Connect the “No” path to another Condition node: “If Amount is less than $5000”
- From that second Condition:
- Yes path: Add two sequential approval steps (manager → department head)
- No path: Add three sequential approval steps (manager → department head → CFO)
Making it sequential:
For each approval step after the first, click the step and toggle “Wait for previous approval” to ON. This ensures the department head doesn’t see the request until the manager approves it.
Adding parallel approvals:
Sometimes you want multiple people to approve simultaneously (like two project stakeholders). To do this, add multiple approval steps at the same level and toggle “Require all approvals” to ON.
Step 4: Adding Conditional Logic
Conditional logic is what transforms a basic workflow into an intelligent system. Let’s add some powerful routing rules.
Route by Department:
Maybe purchase orders for IT equipment should route to the IT Director, while marketing expenses go to the Marketing Manager.
- Add a “Branch” node after the form submission
- Click it and select “Branch by field value”
- Select your “Category” field
- Create branches:
- If Category = “Software” → Route to IT Director
- If Category = “Marketing” → Route to Marketing Manager
- If Category = “Equipment” → Route to Operations Manager
- Default → Route to user’s manager
Route by Amount AND Department:
You can combine conditions. Add a “Condition” node and click “Add Condition Group.”
Set up logic like:
- IF Amount > $1000 AND Category = “Software” THEN route to IT Director AND CFO
- ELSE IF Amount > $1000 THEN route to user’s manager AND department head
- ELSE route to user’s manager only
Escalation Logic:
What if someone doesn’t approve within 48 hours?
- Click your approval step
- Scroll to “Escalation Settings”
- Toggle ON “Escalate if no response”
- Set timer to “48 hours”
- Select escalation action: “Notify approver’s manager” or “Auto-approve” (use carefully)
This ensures approvals never get stuck in someone’s inbox.
Step 5: Testing and Deploying Your Workflow
Before you unleash this on your team, test it thoroughly.
Test in sandbox mode:
- Click “Test Workflow” in the top right
- Fill out your form with test data
- Watch the workflow execute in real-time
- Check that emails are sent to the right people
- Verify that conditional logic routes correctly
Test different scenarios:
- Small purchase ($100) - should route to manager only
- Medium purchase ($2000) - should route to manager + department head
- Large purchase ($10,000) - should route to all three levels
- Different departments - should route to department-specific approvers
Common issues to check:
- Approvers not receiving email notifications (check spam filters)
- Wrong person assigned as approver (check org chart settings)
- Form fields not passing data correctly (check field mappings)
Once you’ve verified everything works, click “Publish Workflow.”
Set up your team:
- Add team members in Settings → Users
- Set up your org chart (who reports to who)
- Share the submission form link with your team
- Create a quick how-to guide (screenshot the form, list what they need to provide)
Pro tip: Run a pilot with one department before rolling out company-wide. Gather feedback, fix any issues, then expand. If you’re evaluating alternatives, see our Cflow vs Kissflow vs Pipefy comparison.
Automate Approval Process No Code: Which Workflows to Tackle First
Now that you know how to build approval workflows, here are the most valuable processes to automate:
1. Purchase Order Approvals
What we just built. Saves procurement teams 10-15 hours per week on average.
2. Expense Report Approvals
- Employee submits expenses with receipts
- Routes to manager for approval
- If over policy limit, routes to finance
- Approved expenses sync to accounting system (or tools like Monday.com - see our ClickUp AI vs Monday AI comparison for more)
- Employee gets reimbursement notification
3. Leave/PTO Requests
- Employee selects dates and leave type
- Routes to manager
- If approved, updates HR system calendar
- Notifies team of absence
- Tracks PTO balance
4. Content/Marketing Approval
- Creator submits blog post, social media, or ad copy
- Routes to editor for review
- If approved, routes to compliance/legal (if needed)
- Final approval from marketing director
- Published or scheduled
5. IT Access Requests
- Employee requests software access or hardware
- Routes to IT manager
- If security-sensitive, routes to security team
- Provisioning happens automatically via integrations (often using Zapier or n8n as the connector)
- User receives credentials
6. Contract Approvals
- Sales team submits contract
- Routes to legal for review
- Routes to finance for pricing approval
- Routes to VP for final signature
- Sends signed contract to customer
7. Vendor Onboarding
- Procurement submits new vendor info
- Routes to compliance for background check
- Routes to finance for payment setup
- Routes to legal for contract review
- Vendor added to approved list
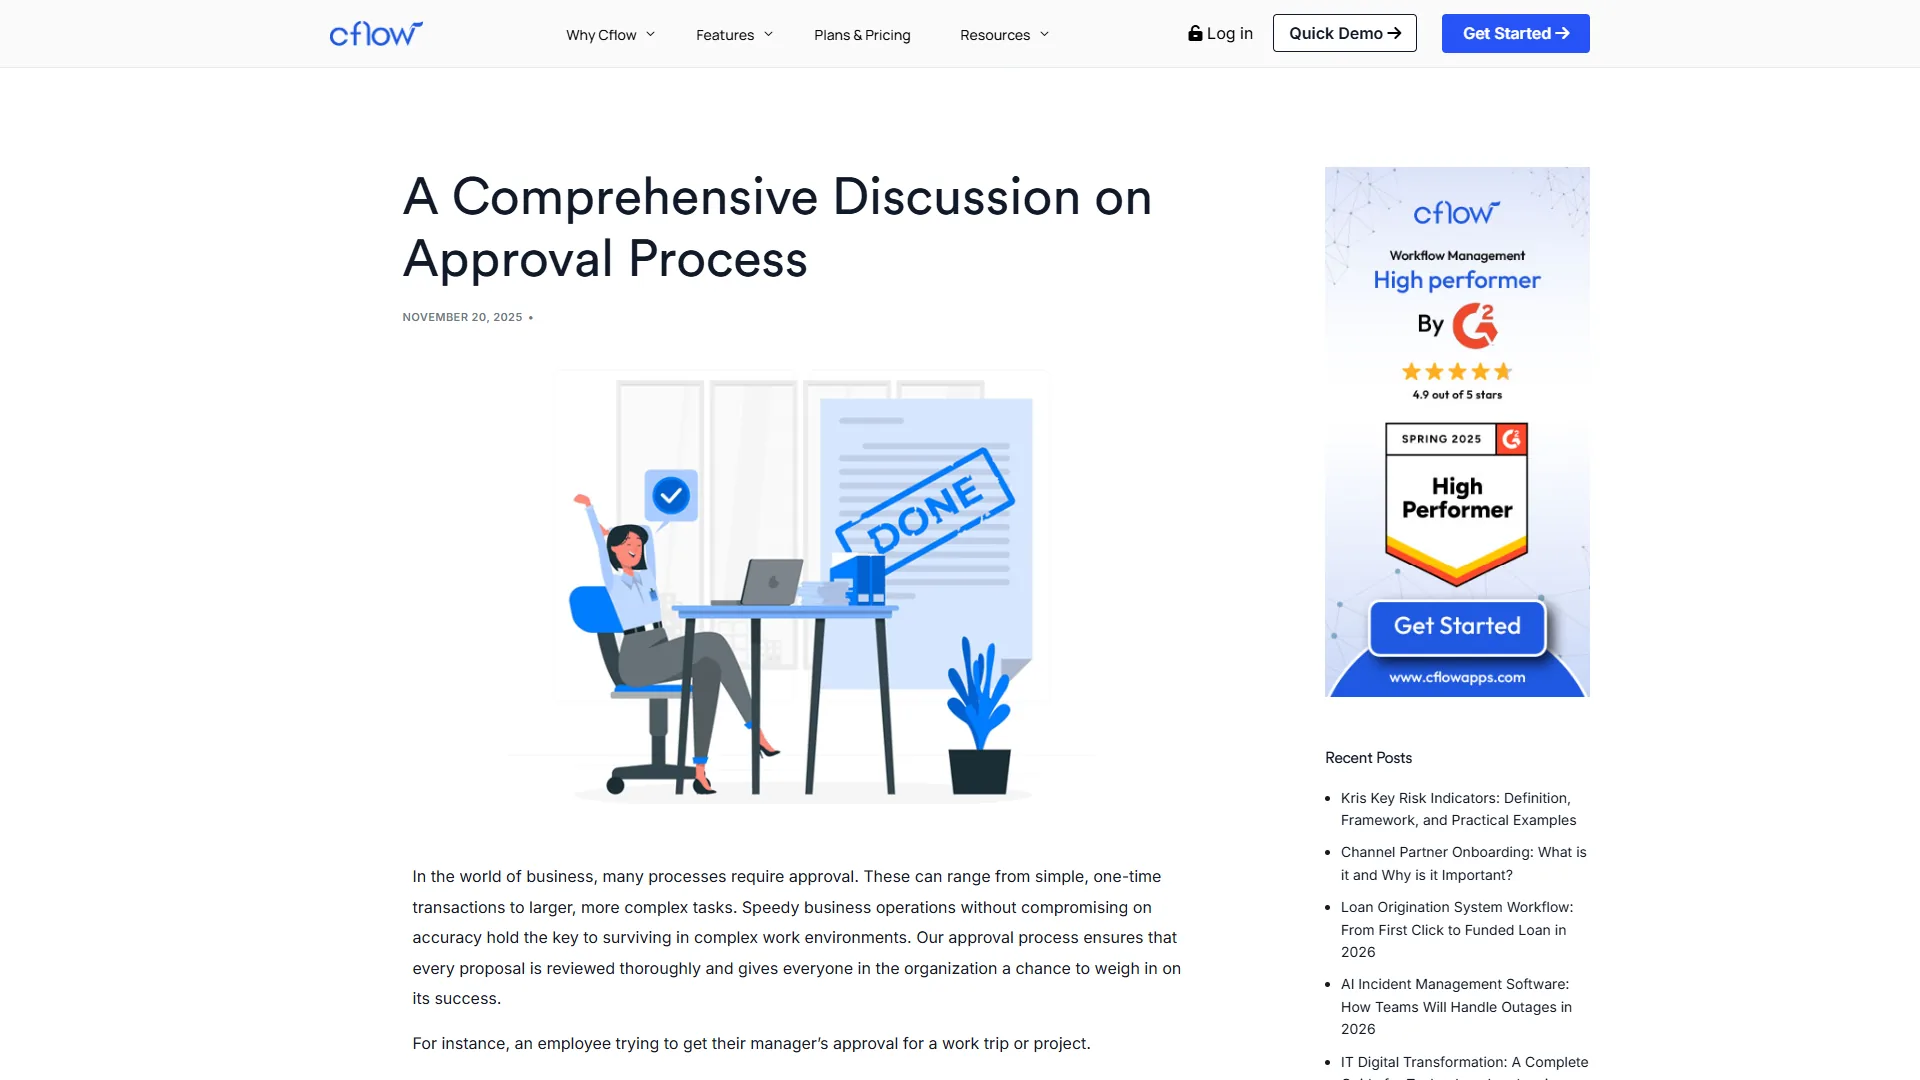
What ROI Can You Expect from Automating Approval Processes?
Let’s talk numbers. What kind of return can you actually expect from automating approvals?
Time Savings:
Based on Cflow’s customer data and published benchmarks, here’s what typical organizations see. According to McKinsey research on automation, workflow automation consistently delivers measurable productivity gains:
- 60-70% reduction in approval cycle time - What took 3-5 days now takes 1-2 days
- 10-15 hours saved per week for teams processing 20-50 approvals weekly
- Elimination of 80% of follow-up emails - No more “did you see my request?” messages
Real numbers from a 50-person company:
-
Before automation:
- Average approval time: 4.2 days
- 30 purchase orders per month
- 6 hours per month chasing approvals
- Lost productivity from delays: $2,000/month
-
After automation with Cflow:
- Average approval time: 1.5 days
- Same 30 purchase orders
- 0.5 hours per month on follow-ups
- Cflow cost (50 users): Bliss tier at $16/month annual per user
- Net savings: $1,500/month + massive improvement in team morale
Cost breakdown:
Cflow pricing is straightforward:
- Joy tier: $11/month annual (10-20 users, 10 workflows max, billed annually)
- Bliss tier: $16/month annual (20+ users, 50 workflows, best for most SMBs, billed annually)
- Zen tier: Custom pricing for 100+ users
For a 25-person team using 5-10 approval workflows on the Bliss tier, you pay a predictable per-seat monthly rate. If you’re saving 15 hours of productivity per week, that’s 60 hours per month. At a blended rate of $50/hour, that’s $3,000 in monthly productivity value - far exceeding the platform cost.
The bigger ROI is intangible:
- Reduced frustration and improved employee satisfaction
- Faster decision-making enabling business agility
- Compliance and audit trails (every approval is logged) - ISO 9001 quality management increasingly expects digital approval records
- Visibility into where bottlenecks exist
Conclusion
When evaluating Automate Approval Process No Code, Automating your approval process without IT help isn’t just possible, it’s easier than you think. With no-code platforms like Cflow, you can build sophisticated multi-level approval workflows with conditional logic in under an hour.
What you learned today:
- How to set up a visual approval workflow from scratch
- How to configure multi-level approvals based on amount thresholds
- How to add conditional routing by department, category, or any field
- How to test and deploy workflows safely
- Real ROI you can expect from approval automation
Your next steps:
- Sign up for Cflow’s 14-day free trial - No credit card required
- Map out your current approval process - Even if it’s messy, write down the steps
- Build your first workflow - Start with something simple like PTO requests
- Test with a small group - Get feedback before rolling out company-wide
- Expand gradually - Add more workflows as you get comfortable
The organizations that thrive in 2026 aren’t necessarily the ones with the biggest IT budgets. They’re the ones that empower their teams to solve problems with accessible tools. Approval automation is one of the highest-ROI, lowest-effort improvements you can make.
For more information about automate approval process no code, see the resources below.
Frequently Asked Questions
Can I automate an approval process without coding skills?
Yes - no-code workflow builders like Cflow let you create sophisticated approval processes without writing a single line of code. If you can use Google Docs, you can build a working approval workflow. Visual drag-and-drop tools handle routing, conditional logic, and notifications, so no IT department is required.
How long does it take to build a no-code approval workflow?
With a no-code platform like Cflow, you can build a functional approval workflow in under an hour. Starting with a simple purchase order workflow teaches the fundamentals, and from there you can add multi-level approvals and conditional routing logic.
How does multi-level approval routing work in Cflow?
Cflow supports conditional routing based on thresholds - for example, orders under $500 go to a manager only, orders between $500 and $5,000 require manager plus department head approval, and orders over $5,000 add CFO sign-off. Each step can be set to wait for the previous approval before escalating.
What does Cflow cost for a small business team?
Cflow offers three tiers: Joy at $11/month annual (up to 20 users, 10 workflows, billed annually), Bliss at $16/month annual (20+ users, 50 workflows, billed annually), and Zen at custom pricing for 100+ users. A 25-person team on the Bliss tier pays a predictable per-seat rate each month.
How much time can approval automation actually save?
According to Cflow’s customer data and published benchmarks, automated approval workflows typically cut approval time by 60-70%. For context, a 25-person team saving 15 hours of productivity per week represents around $3,000 in monthly productivity value against a roughly $400 monthly platform cost.
Want to learn more about Zapier?
Related Guides
- Zapier Setup Guide - Build automated workflows across 6,000+ apps
- n8n Self-Hosted Setup Guide - Open-source workflow automation alternative
- Make Automation Setup Guide - Visual scenario builder for complex automations
Related Reads
Tools covered in this article:
- Cflow - Visual no-code workflow builder for approval automation
- Monday.com - Project management with workflow automation features
More workflow automation guides:
- Best Workflow Automation Tools for SMBs - Complete SMB automation comparison
- Cflow vs Kissflow vs Pipefy - Approval workflow platform comparison
- Best AI Automation Tools 2026 - Gumloop vs Zapier vs Make vs n8n
External Resources
For official Cflow documentation and updates:
- Cflow Blog - Workflow automation tips and approval process best practices
- Cflow Help Center - Workflow builder tutorials and integration guides
Ready to stop chasing approvals and start automating them? Try Cflow free for 14 days and see how much time you can save.
Related Guides
- 15 Calendly Tips and Tricks to Save 4+ Hours Weekly
- ActiveCampaign CRM Setup: How to Set Up ActiveCampaign CRM
- ActiveCampaign Shopify Integration: Complete Setup
- ActiveCampaign WordPress: Forms, Tracking & Automation
- ActiveCampaign Zapier: 10 Automations to Build Today
- AI Agent Orchestration: Patterns That Scale in 2026
- AI Content Writing Workflow: 2026 Walkthrough for Teams
- AI Workflow Automation Maturity Model: 5 Levels
- Building AI First Workflows: A Practitioner's 2026 Guide
- Client Onboarding Automation: Automate Client Onboarding