

The ActiveCampaign Shopify integration is a native, first-party connection that syncs customer data, order history, cart activity, and product catalog information between both platforms in near real-time. It enables abandoned cart recovery, post-purchase automations, and segmentation based on real purchase data, with setup taking about 30 minutes on the Plus plan.
Connecting ActiveCampaign with Shopify turns two already powerful platforms into a unified ecommerce marketing engine. Shopify handles your storefront, products, and checkout. ActiveCampaign handles email, SMS, automations, and CRM. When they talk to each other, you unlock abandoned cart recovery, post-purchase follow-ups, customer segmentation based on real purchase data, and revenue attribution that shows exactly which emails drive sales.
The ActiveCampaign Shopify integration is a native, first-party connection - not a Zapier workaround - and is available through the ActiveCampaign marketplace alongside hundreds of other ActiveCampaign integrations. It syncs customer data, order history, cart activity, and product catalog information directly between both platforms in near real-time. Every Shopify customer becomes an ActiveCampaign contact with their full purchase history attached, and every automation you build can reference what people bought, what they browsed, and what they left behind.
This guide walks through the complete process: connecting accounts, configuring data sync, building essential ecommerce automations, and testing everything. You will have a fully operational integration in about 30 minutes.
Why the ActiveCampaign Shopify Integration Matters
Shopify gives you a world-class storefront. ActiveCampaign gives you marketing automation that rivals platforms costing five times as much. Separately, they are both excellent. Together, they solve the three biggest revenue leaks in ecommerce.
Abandoned cart recovery. Roughly 70% of online shopping carts are abandoned before checkout. The integration tracks cart activity in real time and triggers automated email sequences when a customer adds products but does not complete the purchase. Stores running well-timed abandoned cart sequences typically recover between 5% and 15% of those lost orders.
Post-purchase automation. Built in the ActiveCampaign automation builder, the sale is not the end of the customer journey - it is the middle. ActiveCampaign lets you build automated sequences that trigger based on what someone bought, how much they spent, and how recently they purchased. Cross-sell recommendations, review requests, and replenishment reminders all become possible when your email platform knows about every order.
Customer segmentation with real data. Instead of guessing who your best customers are, the integration gives you concrete data: total lifetime value, order count, average order value, last purchase date, and specific products purchased. You can segment into first-time buyers, repeat customers, VIPs, and lapsed customers - then send each group messaging that matches where they are in their relationship with your store. For a deeper look at segmentation logic, see the ActiveCampaign Segmentation Strategies guide. To make those campaigns hit the inbox at the right moment, the ActiveCampaign predictive sending guide covers per-contact AI timing.
Stores using sophisticated email automation generate an average of 30% of their total revenue from email, compared to roughly 15% for stores using basic newsletter-only approaches. ActiveCampaign’s email marketing platform underpins all of the Shopify-triggered sequences covered in this guide, from abandoned cart emails to post-purchase follow-ups. For step-by-step campaign-building details, the ActiveCampaign email campaign setup guide covers the designer and send workflow.
What You Need Before Starting
Before you begin the integration setup, confirm that you have the following in place.
An ActiveCampaign account on Plus or higher. The Shopify integration requires the Plus plan ($49/month, see the pricing page) or above. The Starter plan does not include ecommerce integrations or the deep data sync features needed for abandoned cart tracking and purchase-based automations - something worth considering against other email marketing tools in any ActiveCampaign vs Klaviyo comparison. If you are evaluating the platform, completing an ActiveCampaign sign-up unlocks a 14-day free trial with full access to all Plus features including Shopify integration. After that, use your ActiveCampaign login to compare tiers on the pricing page.
An active Shopify store. Your store needs to be on any paid Shopify plan (Basic, Shopify, or Advanced). Development stores can also connect for testing. Make sure you have admin access to the Shopify store - you will need it to install the ActiveCampaign app.
At least one contact list in ActiveCampaign. Set this up first using the ActiveCampaign getting started guide. The integration assigns synced Shopify customers to an ActiveCampaign list. Create a dedicated list called “Shopify Customers” before starting the setup to keep ecommerce contacts organized.
Shopify customer data. If your store already has customers, their data will sync during the initial connection. For a new store, have at least one test customer account to verify the data flow.
Step-by-Step Connection Setup
The ActiveCampaign Shopify integration uses a native app available in both the Shopify App Store and the ActiveCampaign integrations marketplace. The connection process takes about 10 minutes.
Step 1: Open the Integration Settings
Log into your ActiveCampaign account. Navigate to Settings in the left sidebar, then click Integrations. Search for “Shopify” in the integrations marketplace. Click the Shopify tile to open the integration configuration screen.
Alternatively, you can start from the Shopify side. Go to the Shopify App Store, search for “ActiveCampaign,” and install the app directly from there. Both paths lead to the same connection screen. If you also connect through Zapier, you can extend the integration with triggers from other apps in your stack - see the ActiveCampaign Zapier Automations guide for setup details.
Step 2: Authorize the Connection
Click Connect on the Shopify integration page. ActiveCampaign will prompt you to enter your Shopify store URL - this is the myshopify.com address (for example, yourstore.myshopify.com), not your custom domain. After entering the URL, click Connect Store.
You will be redirected to Shopify’s authorization screen. This screen lists the permissions ActiveCampaign needs: access to customers, orders, products, carts, and checkout data. Review the permissions and click Install App to authorize the connection.
Step 3: Configure the Sync Settings
After authorization, ActiveCampaign brings you back to the integration settings page where you configure how data flows between the platforms.
Select the ActiveCampaign list. Choose which list Shopify customers should be added to. Use the dedicated “Shopify Customers” list you created earlier. Every Shopify customer who has opted in to marketing will be synced to this list.
Enable historical data sync. Toggle this on to import all existing Shopify customer and order data into ActiveCampaign. Without it, you only get data from new orders going forward. The initial sync can take from a few minutes to several hours depending on your store size.
Enable abandoned cart tracking. Toggle this on to track when customers add items to their cart but do not complete checkout. This is the data source that powers abandoned cart recovery automations. ActiveCampaign will create a cart event on the contact record whenever cart activity is detected.
Enable real-time sync. Make sure real-time sync is enabled so that new orders, customer updates, and cart events flow to ActiveCampaign immediately rather than on a delayed schedule. Real-time sync is essential for time-sensitive automations like abandoned cart emails.
Step 4: Verify the Connection
After saving your settings, navigate to Contacts in ActiveCampaign and check that Shopify customers are appearing. Each synced contact will have a Shopify icon on their profile and an ecommerce data section showing their order history.
If you enabled historical sync, give it time to complete. You can monitor progress by checking the integration status page under Settings > Integrations > Shopify. The status will show “Syncing” while the initial import runs and “Connected” when it finishes.
How Does Data Sync and Field Mapping Work Between ActiveCampaign and Shopify?
Understanding what data flows between Shopify and ActiveCampaign - and where it lives - is essential for building effective automations and segments.
Customer Data (Shopify to ActiveCampaign)
When a Shopify customer syncs to ActiveCampaign, the following data transfers automatically:
| Field | Value |
|---|---|
| Contact information | Email, first name, last name, phone number, default shipping address |
| Ecommerce metrics | Total revenue, total orders, average order value |
| Order history | Every order with line items, quantities, prices, discount codes, and order status |
| Cart data | Current cart contents, cart value, cart creation timestamp |
| Customer tags | Shopify customer tags sync as ActiveCampaign tags |
| Marketing consent | Shopify’s email marketing opt-in status maps to ActiveCampaign list subscription |
Product Data (Shopify to ActiveCampaign)
ActiveCampaign syncs your Shopify product catalog - names, descriptions, prices, images, URLs, collections, and variant information. This powers product recommendation blocks in emails and lets you build automations that trigger based on specific products purchased.
Custom Field Mapping
Beyond the automatic sync, you can map Shopify data to custom ActiveCampaign fields for more granular segmentation. Navigate to Settings > Integrations > Shopify > Field Mapping to configure custom mappings. Common mappings include last order date (for recency-based segmentation), preferred product category, customer tier based on total spend thresholds, and discount code usage to track promotion-driven buyers.
Set up these custom fields in ActiveCampaign under Contacts > Manage Fields before mapping them in the integration settings.
What Are the Essential ActiveCampaign Shopify Automation Recipes?
With the integration connected and data flowing, you can build automations that respond to real customer behavior. These five recipes cover the highest-impact ecommerce automations that every Shopify store should have running.
Abandoned Cart Recovery
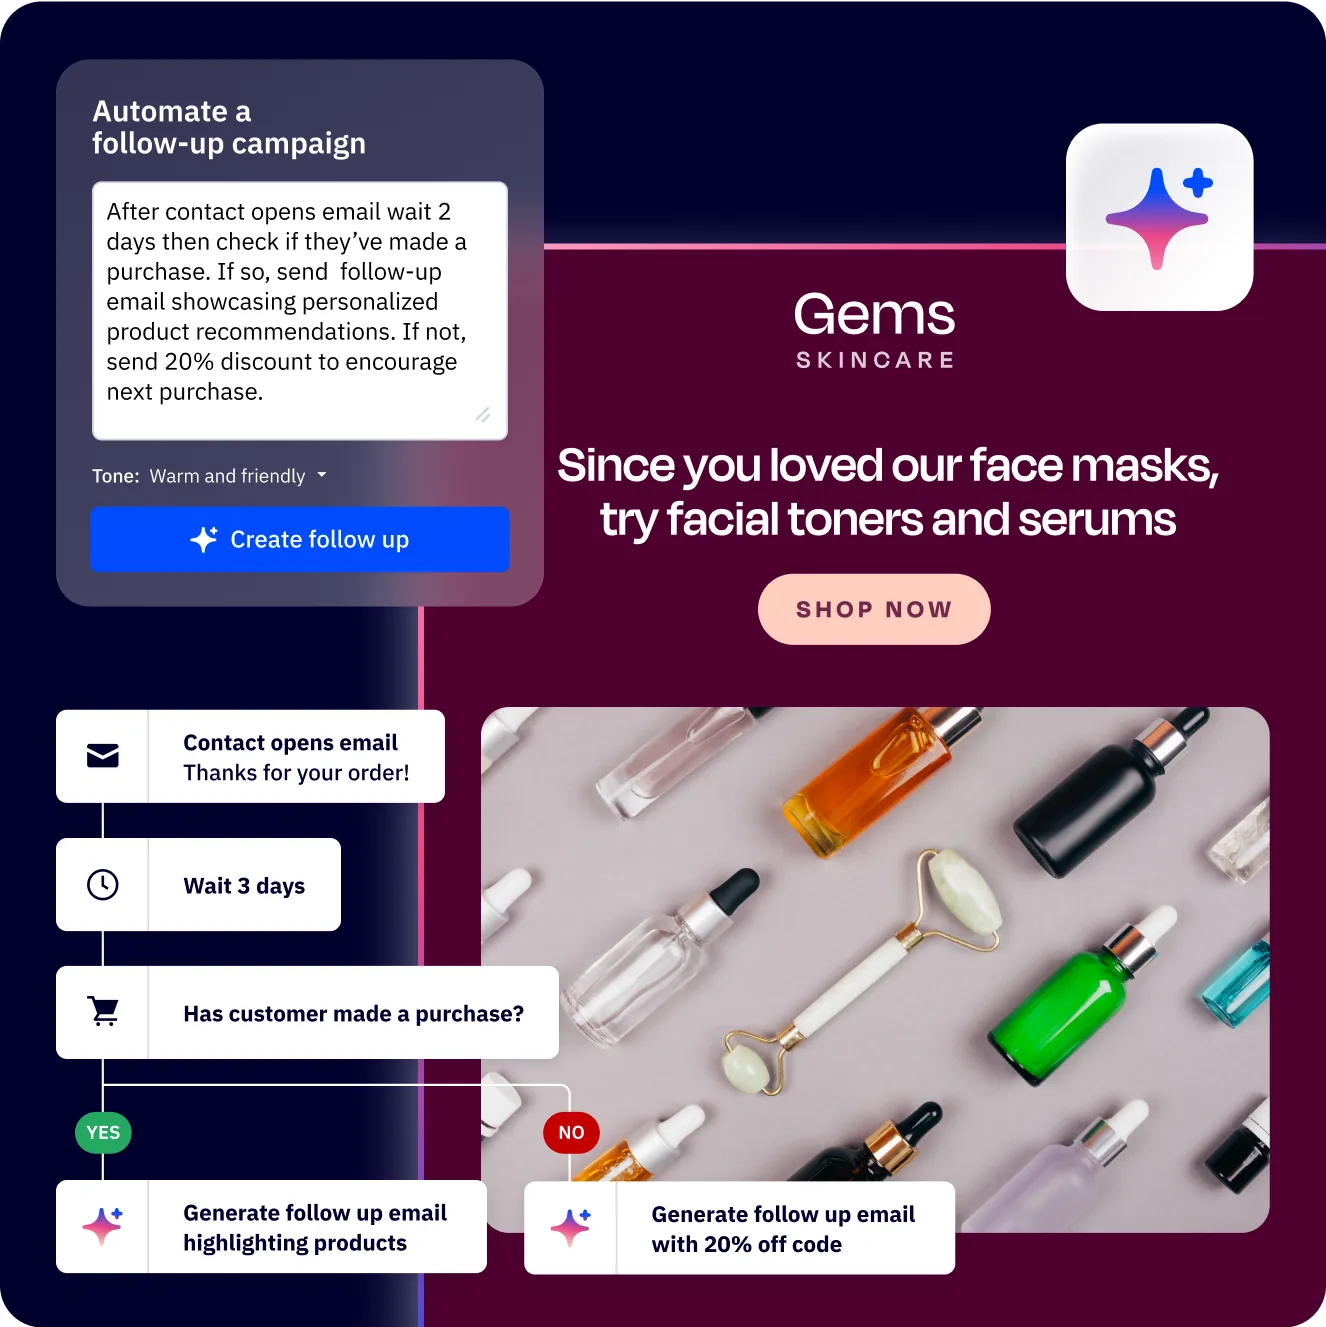
This is the single highest-ROI automation for most ecommerce stores. It triggers when a customer adds products to their cart but does not complete checkout within a set time window.
Trigger: Abandons cart (Shopify Deep Data integration trigger)
Sequence:
- Wait 1 hour after cart abandonment. This gives the customer time to come back on their own - many do within the first hour, and emailing too quickly feels pushy.
- Send Email 1: Reminder. Subject line along the lines of “You left something behind.” Include the abandoned products with images and prices using the cart product block. Link directly back to the checkout. Keep the copy conversational and helpful, not salesy.
- Wait 24 hours. Check if the customer completed the purchase using an If/Else condition. If yes, exit the automation. If no, continue.
- Send Email 2: Urgency. Mention that the items may sell out or that their cart will expire soon. Include a direct checkout link. Some stores add a small incentive here - 10% off or free shipping - but test before committing to discounts as a default.
- Wait 48 hours. Check purchase status again.
- Send Email 3: Final reminder. Last chance messaging. After this email, accept that this particular cart is lost and let the automation end.
Pro tip: Use ActiveCampaign segmentation strategies to segment your abandoned cart emails by cart value. A $20 cart might get two emails. A $200 cart might get three plus a personal follow-up from a sales team member. To keep cart emails landing in the inbox during peak season, the ActiveCampaign deliverability guide covers warmup and authentication.
Post-Purchase Follow-Up
This automation triggers after every completed order and builds the relationship beyond the transaction.
Trigger: Makes a purchase (Shopify order created)
Sequence:
- Wait 30 minutes. Let the Shopify order confirmation email arrive first. You do not want your marketing email competing with the transactional receipt.
- Send Email 1: Thank you and what to expect. Confirm the purchase, set expectations for shipping and delivery, and include links to your FAQ or support page. This is not a sales email - it is a customer service touchpoint.
- Wait 3 days. Typically enough time for the product to arrive for domestic shipping.
- Send Email 2: Check in. Ask if they received their order and if they have any questions. Include a direct reply option so they can respond to the email if something went wrong.
- Wait 7 days. Give them time to actually use the product.
- Send Email 3: Review request. Ask for a product review on your Shopify store. Include a direct link to the product page review section. Consider offering a small incentive like a discount code for their next purchase in exchange for the review.
Win-Back Campaigns
Win-back automations target customers who have not purchased in a defined period. They re-engage lapsed buyers before they forget about your store entirely.
Trigger: Date-based - days since last purchase exceeds your threshold (typically 60-90 days depending on your product repurchase cycle)
Sequence:
- Send Email 1: We miss you. Personalized message acknowledging the gap since their last purchase. Include product recommendations based on their purchase history using the dynamic content blocks.
- Wait 5 days.
- Send Email 2: Incentive. Offer a discount code, free shipping, or an exclusive deal to bring them back. Make it time-limited to create urgency.
- Wait 7 days. Check if they purchased. If yes, tag them as “Re-engaged” and exit. If no, continue.
- Send Email 3: Final attempt. Stronger incentive or a different angle - new arrivals they might like, best sellers they have not tried, or a curated collection based on their past purchases.
- If no purchase after Email 3: Add a “Lapsed” tag for future segmentation. Do not keep emailing - move them to a low-frequency monthly newsletter instead.
Product Review Requests
Standalone review request automation with smarter timing than the post-purchase sequence.
Trigger: Makes a purchase with a condition that the order has been fulfilled (shipped and delivered)
Sequence:
- Wait until order status is “Delivered.” Use Shopify fulfillment data to time this correctly rather than guessing delivery windows.
- Wait 3 additional days. Let them unbox and try the product.
- If/Else: Order value above $50. High-value customers get a more personalized request. Lower-value orders get a simpler template.
- Send review request email with a direct link to the product review page on your Shopify store.
VIP Customer Segmentation
This automation automatically identifies and tags your best customers for special treatment.
Trigger: Makes a purchase (runs on every order)
Sequence:
- If/Else: Total revenue exceeds $500. Adjust this threshold based on your store’s average customer lifetime value.
- Yes branch: Add “VIP” tag. Move them to a VIP segment. Send a personalized welcome to VIP email with exclusive perks (early access, dedicated support email, special discount tier).
- No branch: Check if total orders exceed 3. If yes, add “Loyal Customer” tag. If no, check if this is their first order and add “New Customer” tag.
This creates an automatic tiering system that updates in real time as customers make purchases. Use these tags to personalize campaigns, adjust discount offers, and prioritize support responses. If you want to weight these tiers with numeric scores, combine this with ActiveCampaign lead scoring to rank contacts by engagement and purchase activity. For B2B stores that pass VIP customers to a sales team, the ActiveCampaign deal pipeline guide covers how to push high-value contacts straight into a sales workflow.
Advanced Ecommerce Automations
Once your essential recipes are running, these advanced patterns squeeze more revenue from the integration.
Revenue Attribution and Tracking
ActiveCampaign tracks revenue generated by each email and automation. Navigate to Reports > Ecommerce to see which campaigns and automations drive the most sales. Each email in an automation shows attributed revenue, conversion rate, and average order value. Combine this with ActiveCampaign lead scoring to rank customers by lifetime value alongside their email engagement, so your sales team prioritizes the highest-revenue accounts. For teams using conditional content blocks to personalize emails per segment, the ActiveCampaign conditional content guide covers the block-level personalization setup.
Use this data to optimize your automations continuously. If your abandoned cart Email 2 (with the discount code) converts at 3x the rate of Email 1 (without a discount), consider testing a smaller discount in Email 1 to see if you can recover carts earlier without training customers to wait for a coupon.
Product Recommendation Emails
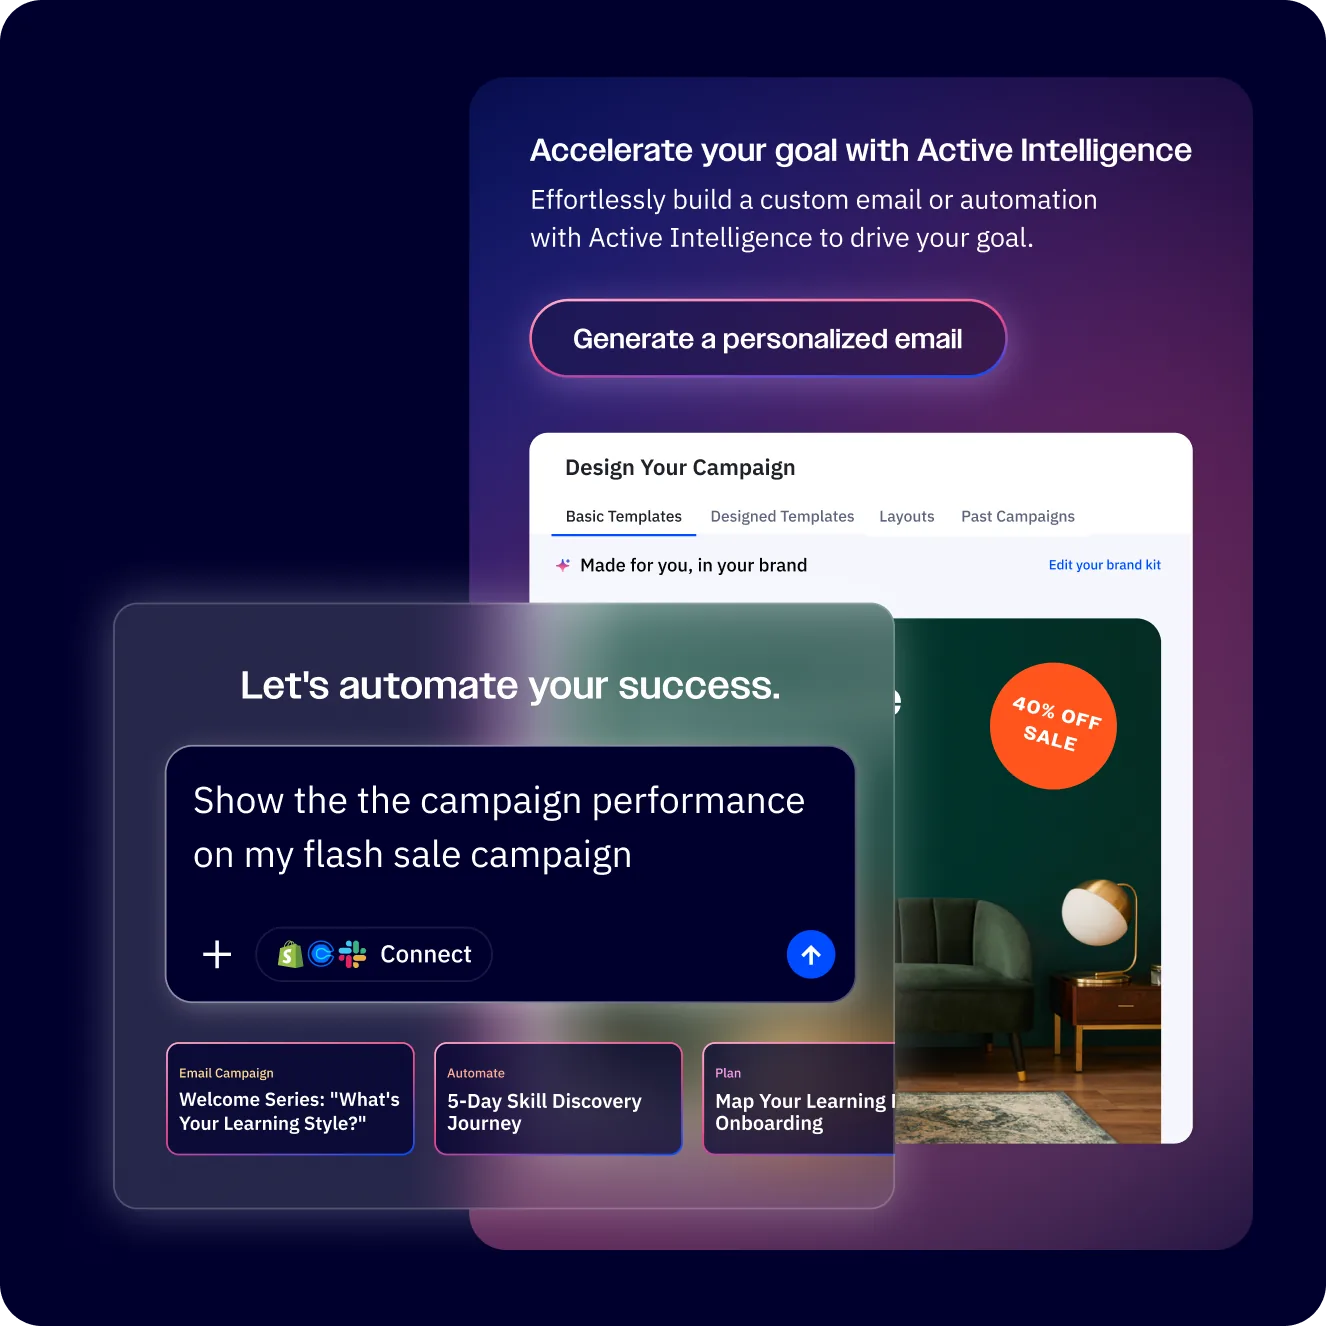
The Active Intelligence predictive content feature analyzes purchase history and browsing behavior to generate personalized product recommendations. In the email designer, add a Predictive Content block and configure it to pull from your synced Shopify catalog. Set recommendation rules for cross-sells (products frequently bought together), up-sells (higher-value alternatives), new arrivals in purchased categories, and best sellers the customer has not tried yet.
Browse Abandonment
Beyond cart abandonment, you can track product page views and trigger automations when someone browses without adding to cart. This requires site tracking - navigate to Settings > Tracking, grab the tracking code, and install it in your Shopify theme under Online Store > Themes > Edit Code > theme.liquid before the closing </head> tag.
Order-Based Tagging
Build an automation triggered by purchases that tags customers based on what they buy. Use If/Else conditions to check product name or category and apply tags like “Bought-Shoes” or “Bought-Subscription.” These tags power hyper-targeted campaigns - someone tagged “Bought-Running-Shoes” gets emails about new running shoe releases, not generic newsletters.
How Do You Test the ActiveCampaign and Shopify Integration?
Before relying on the integration for live customer communications, test every component thoroughly.
Verify Data Sync
- Place a test order on your Shopify store using a test email address. Use Shopify’s Bogus Gateway or a test payment processor to avoid real charges.
- Check ActiveCampaign within 5 minutes. The test contact should appear with full ecommerce data: order total, product purchased, order date, and order status.
- Verify field mapping. Click into the contact profile and check the ecommerce section. Confirm that order details, revenue totals, and customer metrics match what Shopify shows.
Test Abandoned Cart Tracking
- Add products to your cart using a tracked email address that already exists in ActiveCampaign.
- Do not complete checkout. Close the browser or navigate away.
- Check ActiveCampaign after the configured wait time. The contact should show a cart abandonment event with correct products and cart value.
- Verify the automation triggers. The test contact should enter your abandoned cart automation and receive the first email after the wait period.
Test Purchase Automations
- Complete a test purchase and verify that the post-purchase automation triggers correctly.
- Check email timing. Confirm emails arrive after configured wait periods, not immediately.
- Verify dynamic content. Confirm that product images, order details, and recommendation blocks render correctly with real data.
Validate Segments
After test orders are in the system, verify your segments populate correctly: VIP thresholds trigger at the right revenue levels, product-based tags apply based on purchased items, and lapsed customer segments include the right contacts based on last purchase date.
How Do You Troubleshoot Common ActiveCampaign Shopify Issues?
Customers not syncing from Shopify. The most common cause is marketing consent. ActiveCampaign only syncs customers who have opted in to email marketing on Shopify. Check the customer record under Customers > [Customer Name] and confirm “Email marketing” shows as “Subscribed.” Guest checkouts without opt-in will not sync.
Abandoned cart emails not triggering. Verify that (1) abandoned cart tracking is enabled in the integration settings, (2) the customer’s email address is known to ActiveCampaign before they add items to cart, and (3) your automation trigger is set to “Abandons cart” not “Subscribes to list.” Anonymous visitors who have not provided an email address cannot trigger cart abandonment emails - only identified contacts can.
Order data showing incorrect totals. Check whether your Shopify prices include or exclude tax. ActiveCampaign pulls the order total as Shopify reports it, so if there is a mismatch, it is usually a tax configuration issue on the Shopify side. Also verify that you are not double-counting orders from both live and test payment gateways.
Duplicate contacts appearing. The integration matches contacts by email address, so different emails create separate records. Use ActiveCampaign’s merge contacts feature under Contacts > [Select contacts] > Merge to combine duplicates.
Automation firing multiple times. Check your automation’s “Run” setting. For abandoned cart and post-purchase automations, “Multiple times” is usually correct - you want them to trigger for each cart or order. For welcome or VIP automations, set it to “Once” so contacts only go through the sequence once.
Product images not appearing in emails. Force a resync by going to Settings > Integrations > Shopify and clicking Resync Products. Also confirm that your product images in Shopify are published and not set to draft status.
The Bottom Line
The ActiveCampaign Shopify integration is the rare ecommerce automation that pays for itself within the first month, mostly through abandoned cart recovery. Connect it once, build the five core recipes (cart recovery, post-purchase, win-back, review requests, VIP tagging), then layer in advanced features like predictive product blocks. Review the platform on the ActiveCampaign tool page, and check pricing on the pricing page.
Frequently Asked Questions
Does the ActiveCampaign Shopify integration work with Shopify Plus?
Yes. The integration works with all Shopify plans including Shopify Plus. Shopify Plus stores get the same data sync capabilities, and Plus merchants can also use ActiveCampaign’s API for custom webhook integrations that go beyond the standard app connection.
Can I use ActiveCampaign with Shopify and another email platform simultaneously?
Technically yes, but it is not recommended. Running two email platforms creates duplicate sends and conflicting automations. If migrating from another platform, set up ActiveCampaign first, test your automations, then disconnect the old platform.
Which ActiveCampaign plan do I need for the Shopify integration?
You need the Plus plan ($49/month) or higher. The Starter plan does not include ecommerce integrations. The Plus plan gives you full Shopify data sync, abandoned cart tracking, ecommerce reporting, and CRM features. Compare all options on the pricing page.
How long does the initial data sync take?
It depends on the size of your Shopify store. Stores with fewer than 1,000 customers and orders typically sync within 15-30 minutes. Larger stores with tens of thousands of customers can take several hours. The sync runs in the background - you can continue using both platforms while it completes.
What happens if I disconnect and reconnect the integration?
Disconnecting removes the active data sync but does not delete contacts already in ActiveCampaign. Reconnecting re-establishes the sync and performs a fresh data pull from Shopify. Your automations pause during disconnection and resume once reconnected.
Can I track revenue from specific automations?
Yes. Navigate to Reports > Ecommerce > Revenue by Automation to see revenue attributed to each automation and each individual email. This data is essential for optimizing your email strategy.
Want to learn more about ActiveCampaign?
Related Guides
- ActiveCampaign Automation Builder Guide
- ActiveCampaign Email Automation Workflows
- ActiveCampaign Getting Started Guide
- ActiveCampaign Segmentation Strategies
- ActiveCampaign Lead Scoring Guide
Related Reading
External Resources
- ActiveCampaign Shopify Integration Documentation - Official setup and field-mapping reference
- ActiveCampaign on Shopify App Store - Vendor app listing with installation instructions
- ActiveCampaign Shopify Integration - Official integration page with setup documentation
- ActiveCampaign Free Trial - 14-day trial with full access to Shopify integration
- ActiveCampaign Pricing - Plan comparison with ecommerce feature availability
Related Guides
- 15 Calendly Tips and Tricks to Save 4+ Hours Weekly
- Activecampaign AI Content Generation: Complete 2026 Guide
- ActiveCampaign AI Features: Active Intelligence Guide
- Activecampaign Automation Builder: Complete 2026 Guide
- Activecampaign Brand Kit: 2026 Walkthrough for Teams
- ActiveCampaign Conditional Content: Personalization Guide
- ActiveCampaign CRM Setup: How to Set Up ActiveCampaign CRM
- ActiveCampaign Deals Pipeline: Stages & Automation
- ActiveCampaign Deliverability: Best Practices Guide
- ActiveCampaign Email Automation: 10 Workflows That Work