

The ActiveCampaign automation builder is the engine behind everything the platform does well. Email sequences, lead scoring, CRM deal updates, SMS campaigns, abandoned cart recovery - all of it runs through the visual automation builder, which is built around automation triggers, actions, and conditional logic. If you are using ActiveCampaign without building custom automations, you are paying for a sports car and driving it in first gear.
ActiveCampaign gives you access to over 900 pre-built automation recipes, a drag-and-drop visual builder, multi-channel messaging across email marketing, SMS, and WhatsApp, and an AI automation builder that generates complete workflows from plain-language descriptions. The automation builder is what separates ActiveCampaign from simpler email tools like Mailchimp or Constant Contact - it handles complex branching logic, conditional waits, and cross-automation linking that would require enterprise-level platforms to match. If you are coming from a legacy provider, the ActiveCampaign vs Mailchimp comparison page outlines the migration path.
This guide is the definitive builder tutorial for every part of the ActiveCampaign automation builder, covering it from the ground up. You will learn how triggers, actions, and conditions work together, build a complete welcome email series step by step, explore automation recipes, and get into advanced patterns like goal-based automations and webhook integrations. Whether you are setting up your first automation or optimizing existing workflows, this is the reference you need.
Prerequisites
Before you start building automations, make sure you have the following in place.
An ActiveCampaign account on the right plan. The Starter plan ($15/month) includes the automation builder, but it limits you to 5 actions per automation and does not support branching logic (If/Else conditions). For the full automation builder experience - including unlimited actions, conditional branching, site tracking, and lead scoring - you need the Plus plan ($49/month) or higher. If you are evaluating the platform, start with the 14-day free trial which gives you access to all features. Compare tiers on the pricing page.
At least one contact list imported. Automations need contacts to run. Import a list from your existing email provider, CRM, or spreadsheet before building your first automation. Even a small test list of 10-20 contacts is enough to validate your workflows before going live.
Basic familiarity with ActiveCampaign’s interface. You should know how to navigate the dashboard, create email campaigns, manage contacts, and understand how the segment builder organizes your audience. If you are brand new, spend 15 minutes clicking through the main navigation before following this guide.
Understanding the ActiveCampaign Automation Builder Interface
The ActiveCampaign automation builder uses a visual drag-and-drop canvas where you construct workflows vertically. Each automation flows from top to bottom, starting with one or more triggers and moving through a sequence of actions, waits, and conditions. The visual layout means you can see the entire logic of a workflow at a glance - something that matters when automations grow to 20 or 30 steps.
Navigate to Automations in the left sidebar and click Create an Automation to open the builder. You will see three options: start from scratch, use a recipe, or use the AI builder. For now, understanding the three core building blocks matters most.
Triggers
Triggers are the entry point for every automation. They define the event that causes a contact to enter the workflow. An automation can have multiple triggers, which means the same workflow can fire from different starting conditions. For example, a welcome series could trigger when someone subscribes to a list OR submits a specific form.
Actions
Actions are the steps that execute after a trigger fires. Sending an email, adding a tag, updating a custom field, creating a CRM deal, sending an SMS - these are all actions. You stack actions vertically in the builder, and they execute in sequence from top to bottom.
Conditions (Logic)
Conditions control the flow path a contact follows. The If/Else block is the most common - it checks whether a contact meets certain criteria (opened an email, has a specific tag, lives in a particular country) and routes them down different branches. Split actions let you A/B test different paths, and Goal actions let contacts jump ahead when they meet a target condition.
Automation Triggers Explained
Triggers determine when and why a contact enters your automation. Choosing the right trigger is critical because it defines the context for everything that follows. ActiveCampaign offers triggers across six categories.
Contact-based triggers fire when something changes on the contact record itself. This includes subscribing to a list, having a tag added or removed, a custom field value changing, or submitting a form. If you are capturing leads through embedded forms, see the ActiveCampaign forms setup guide for configuration details. The “Subscribes to a list” trigger is the most common starting point for welcome sequences.
Engagement-based triggers respond to how contacts interact with your marketing. An email open, a link click, a webpage visit (requires site tracking enabled), or a specific email reply can all start an automation. These are powerful re-engagement workflows - if someone clicks a link to your pricing page, you can trigger a sales follow-up sequence immediately.
Commerce triggers are essential for e-commerce businesses. Purchase events, abandoned carts, and order status changes can all kick off automations. ActiveCampaign integrates with Shopify, WooCommerce, BigCommerce, and other platforms to pull these events automatically. Our ActiveCampaign Shopify integration guide walks through connecting your store step by step.
Date-based triggers fire on specific dates or relative to date fields. Birthday emails, subscription renewal reminders, and annual check-ins all use date triggers. You can set them to fire on the exact date, a set number of days before, or after a date stored in a custom field. Pairing date-based triggers with predictive sending ensures each contact receives the message when they are most likely to engage.
CRM triggers (Plus plan and above) respond to deal activity. A deal moving to a new stage, a deal value changing, a deal being won or lost, or a task being completed can all start automations. This is where marketing automation and the ActiveCampaign sales CRM pipeline management connect.
Third-party triggers come from ActiveCampaign’s 900+ app integrations. A new row in Google Sheets, a form submission in Typeform, a purchase in Stripe, or a support ticket in Zendesk can all trigger automations via native integrations or Zapier/Make connections.
One critical detail: triggers are NOT retroactive. If you create an automation with a “Tag added” trigger and contacts already have that tag, they will not enter the automation. Only future tag additions will fire the trigger. This catches many new users off guard. If you need existing contacts to enter, use the “Add to automation” bulk action from your contacts list.
Automation Actions and Logic
Once a contact enters an automation through a trigger, actions define what happens next. ActiveCampaign groups actions into several categories, and understanding each one lets you build workflows that go far beyond simple email sends.
Sending actions are the most straightforward. Send an email, send an SMS (requires SMS add-on), send a site message (for on-site pop-ups), or send a notification to your team. Notification actions are underrated - they let you alert a sales rep when a high-value lead takes a specific action.
Timing actions control pacing. The “Wait” action pauses a contact for a set duration (hours, days, or weeks). The “Wait Until” action pauses until a specific condition is met - for example, wait until the contact opens the previous email, or wait until a custom field equals a certain value. Using wait conditions instead of fixed durations creates more responsive workflows. For email design best practices within timed sequences, see the ActiveCampaign email campaign setup guide.
Logic actions create intelligent branching. The If/Else block checks any contact condition and splits the path into two branches - one for contacts who match, one for those who do not. The Split action runs an A/B test by randomly distributing contacts across paths (useful for testing different email approaches). The Go To action redirects contacts to another point in the same automation. The Goal action defines a target state - when a contact meets the goal condition, they jump directly to that point in the automation regardless of where they are.
Contact management actions modify the contact record. Add or remove tags, update custom field values, subscribe or unsubscribe from lists, add notes, and adjust lead scores. Tags are particularly useful as internal signals - tagging a contact as “engaged-buyer” lets other automations reference that status. For a full breakdown of tag-based segmentation strategies, see our ActiveCampaign segmentation strategies guide. For consistent email branding across every automated message, pair your sequences with the ActiveCampaign AI brand kit.
CRM actions (Plus plan and above) create and modify deals. Add a new deal to a pipeline, update the deal stage, change the deal owner, update deal value, and add notes. These actions let your marketing automations feed directly into your sales pipeline without manual handoff.
External actions connect to the outside world. Webhooks send data to external URLs, enabling integration with virtually any platform. You can also start or end other automations from within a workflow, which enables modular automation design where smaller automations handle specific tasks and a master automation orchestrates the flow. If you are evaluating how ActiveCampaign compares to other workflow automation tools, this modular approach is one of its key differentiators.
Step-by-Step: Build Your First Automation
The best way to learn the automation builder is to build something real. This walkthrough creates a welcome email series - the most valuable automation any business can have. Welcome emails see 4x higher open rates than regular campaigns according to Campaign Monitor’s welcome email research, and a well-structured series sets the tone for your entire subscriber relationship.
Step 1: Create a New Automation
Navigate to Automations in the left sidebar. Click the Create an Automation button in the top right corner. Select Start from Scratch to begin with a blank canvas. This gives you full control over every element.
Step 2: Add Your Trigger
The builder immediately prompts you to select a trigger. Choose Subscribes to a list from the contact-based triggers. Select the list you want to trigger the welcome series for. Under “Runs,” select Once - you want each contact to go through the welcome series only one time, even if they unsubscribe and resubscribe later.
Step 3: Send the First Welcome Email
Click the + icon below the trigger to add your first action. Select Send an Email from the sending actions. The email editor opens where you can design your welcome message. Keep this first email focused: thank them for subscribing, set expectations for what you will send, and include one clear call-to-action. Avoid cramming multiple offers into the first touch.
Step 4: Add a Wait Condition
After the welcome email, add a Wait action. Set the duration to 1 day. This gives the subscriber time to read and engage with the first email before you send the next one. Sending too quickly (within hours) feels pushy and increases unsubscribe rates.
Step 5: Add an If/Else Condition
This is where the automation gets intelligent. Add an If/Else condition that checks whether the contact opened the first email. Select Actions as the condition type, then Has opened email and choose the welcome email you just created. This splits your automation into two branches - one for engaged contacts and one for those who have not opened.
Step 6: Build the Engaged Branch (Yes Path)
On the “Yes” side of the If/Else block, these contacts opened your welcome email and are showing interest. Add a Send an Email action with your second email - this could be a deeper introduction to your product, a helpful resource, or a case study. These contacts are warm, so you can be more direct with value propositions.
Step 7: Build the Re-Engagement Branch (No Path)
On the “No” side, contacts did not open the first email. Add a Send an Email action with a re-engagement message using a different subject line. Sometimes the first subject line just did not resonate. Keep the body similar to the original welcome but try a completely different hook. This single branch can recover 15-20% of contacts who would otherwise be lost.
Step 8: Set Entry and Exit Rules
Click the gear icon in the top right of the automation to configure entry and exit rules. Under Entry, confirm “Once” is selected for your trigger. Under Exit, consider adding an exit condition - for example, if a contact unsubscribes from the list, they should exit the automation immediately rather than receiving queued emails.
Step 9: Activate the Automation
Review every step by clicking through the automation from top to bottom. Check email content, wait durations, and condition logic. When everything looks right, toggle the automation from Inactive to Active in the top right corner. The automation is now live and will process new subscribers as they join your list.
Using Automation Recipes
Building from scratch gives you maximum control, but ActiveCampaign’s recipe library saves significant time when you need a proven starting structure. With over 900 pre-built recipes, you can import a complete automation framework and customize it to match your business in minutes instead of building every step manually.
To browse recipes, click Create an Automation and select Recipes instead of starting from scratch. You can filter by industry (e-commerce, SaaS, agencies, education), use case (lead nurturing, customer retention, sales follow-up), and experience level (beginner, intermediate, advanced). Each recipe includes a preview showing the complete workflow structure before you import it. ActiveCampaign also maintains a full recipes marketplace where you can browse community-built automation templates.
When you import a recipe, ActiveCampaign creates the full automation structure - triggers, actions, conditions, and wait steps - but leaves the email content blank. This is by design. The framework handles the logic; you fill in the messaging that matches your brand and audience.
Recommended starter recipes by use case:
- Welcome series (lead nurturing) - A 5-email sequence that introduces new subscribers to your brand, delivers value, and guides them toward a first purchase or conversion. Look for recipes labeled “Welcome Series” or “Onboarding Sequence”
- Abandoned cart recovery (e-commerce) - A 3-email sequence triggered when a shopper leaves items in their cart. The best recipes include escalating urgency - a reminder, then social proof, then a limited-time discount
- Re-engagement campaign - Targets contacts who have not opened or clicked emails in 60-90 days. The recipe typically sends a “We miss you” email, waits for engagement, then either re-tags active contacts or removes unresponsive ones from your list
- Post-purchase follow-up (onboarding) - Triggered by a purchase event, this recipe sends order confirmation, delivery updates, product tips, and a review request. Strong post-purchase sequences drive repeat purchases and reduce support tickets
Pro tip: Import a recipe, then immediately customize the wait durations. Recipe defaults tend to be conservative (3-7 day waits). For faster-paced businesses like SaaS onboarding, tighten those gaps to 1-2 days. For high-consideration purchases like real estate or B2B services, extend them to match your sales cycle.
Multi-Channel Automations
Email is the backbone of most automations, but ActiveCampaign supports SMS, WhatsApp, and site messaging within the same workflow. Multi-channel automations reach contacts where they are most responsive, and combining channels in a single automation prevents the coordination headaches of running separate campaigns.
SMS actions work like email actions in the builder - add an “Send SMS” step, write your message (160 characters for standard SMS), and set your timing. SMS is ideal for time-sensitive triggers like appointment reminders, flash sales, or shipping notifications where email might sit unread for hours. The SMS add-on is required and priced per message on top of your base plan. For a deeper look at SMS strategy on ActiveCampaign, see our ActiveCampaign SMS marketing guide.
WhatsApp messaging integration lets you send templated WhatsApp messages as automation actions. This is particularly valuable for international audiences where WhatsApp is the primary communication channel. WhatsApp messages see open rates above 90% in many markets, making them the highest-engagement channel available.
Combining channels in a single automation is where multi-channel shines. A practical example: a webinar registration automation that sends a confirmation email immediately, an SMS reminder 1 hour before the event, and a follow-up email with the recording 24 hours after. Each channel serves a different purpose within the same workflow, and the contact experiences a cohesive sequence without any manual coordination.
The key to multi-channel automations is using channel preferences and conditions to avoid overwhelming contacts. Add If/Else conditions that check whether a contact has a phone number before routing them through SMS steps, and respect opt-in status for each channel independently.

AI Automation Builder
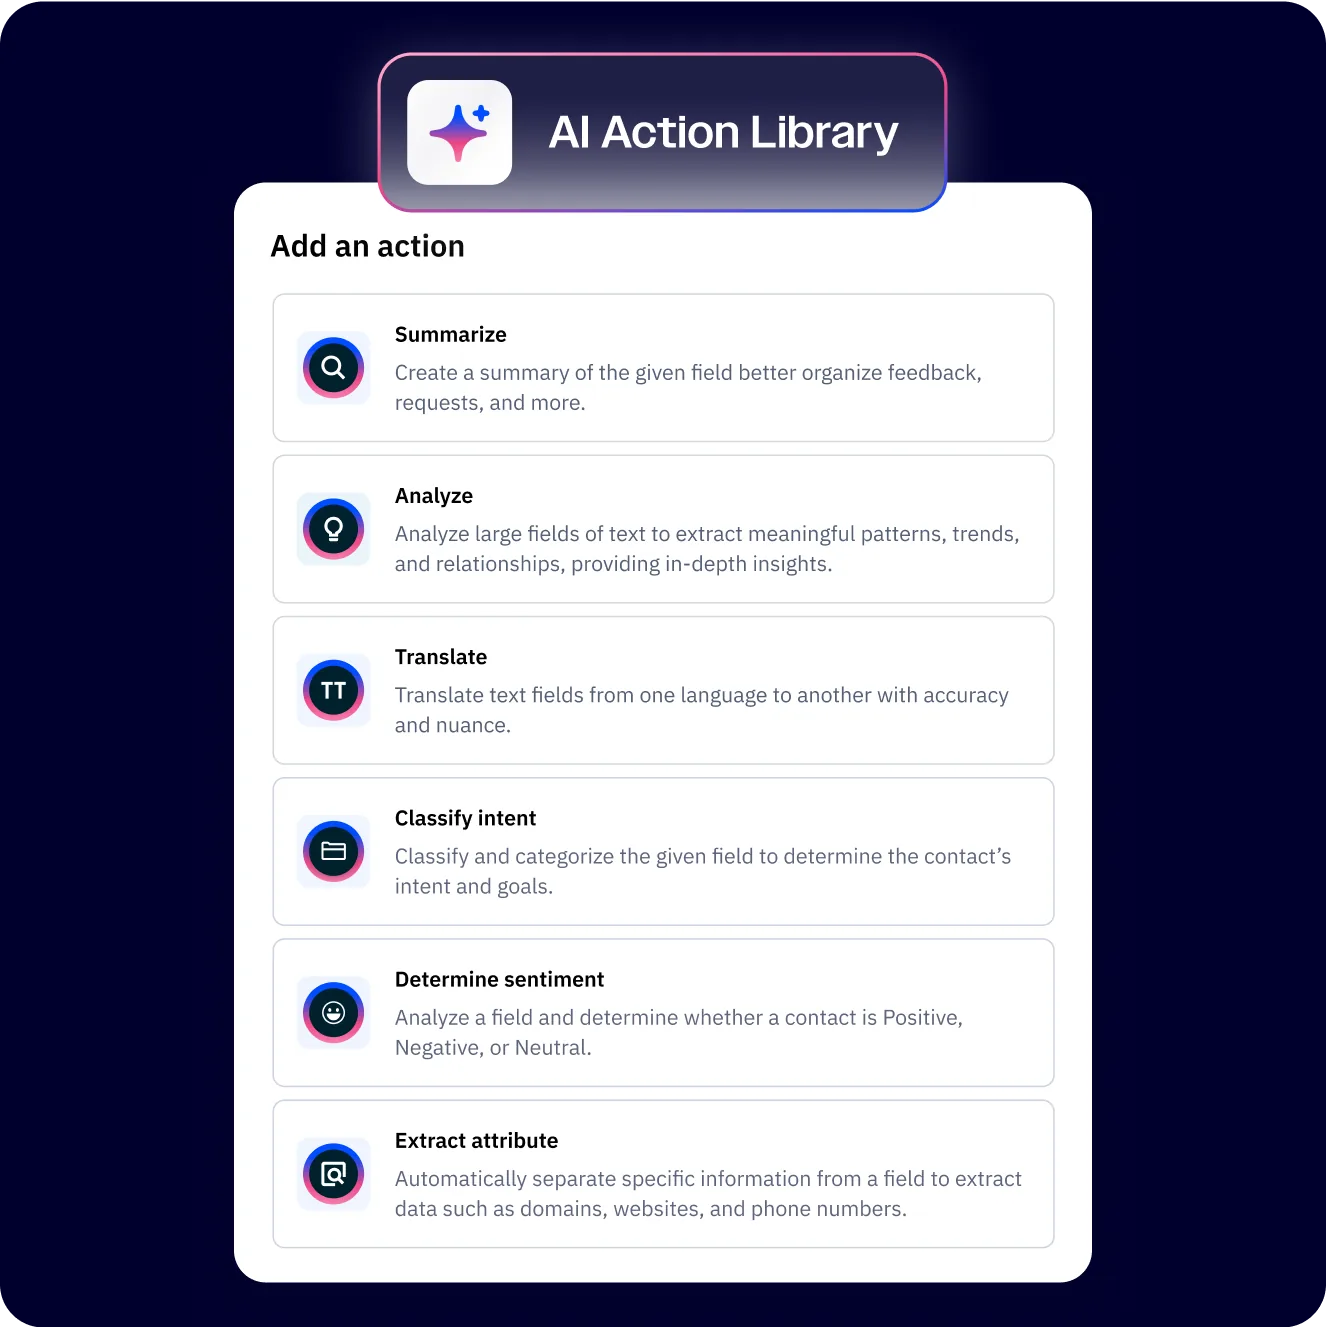
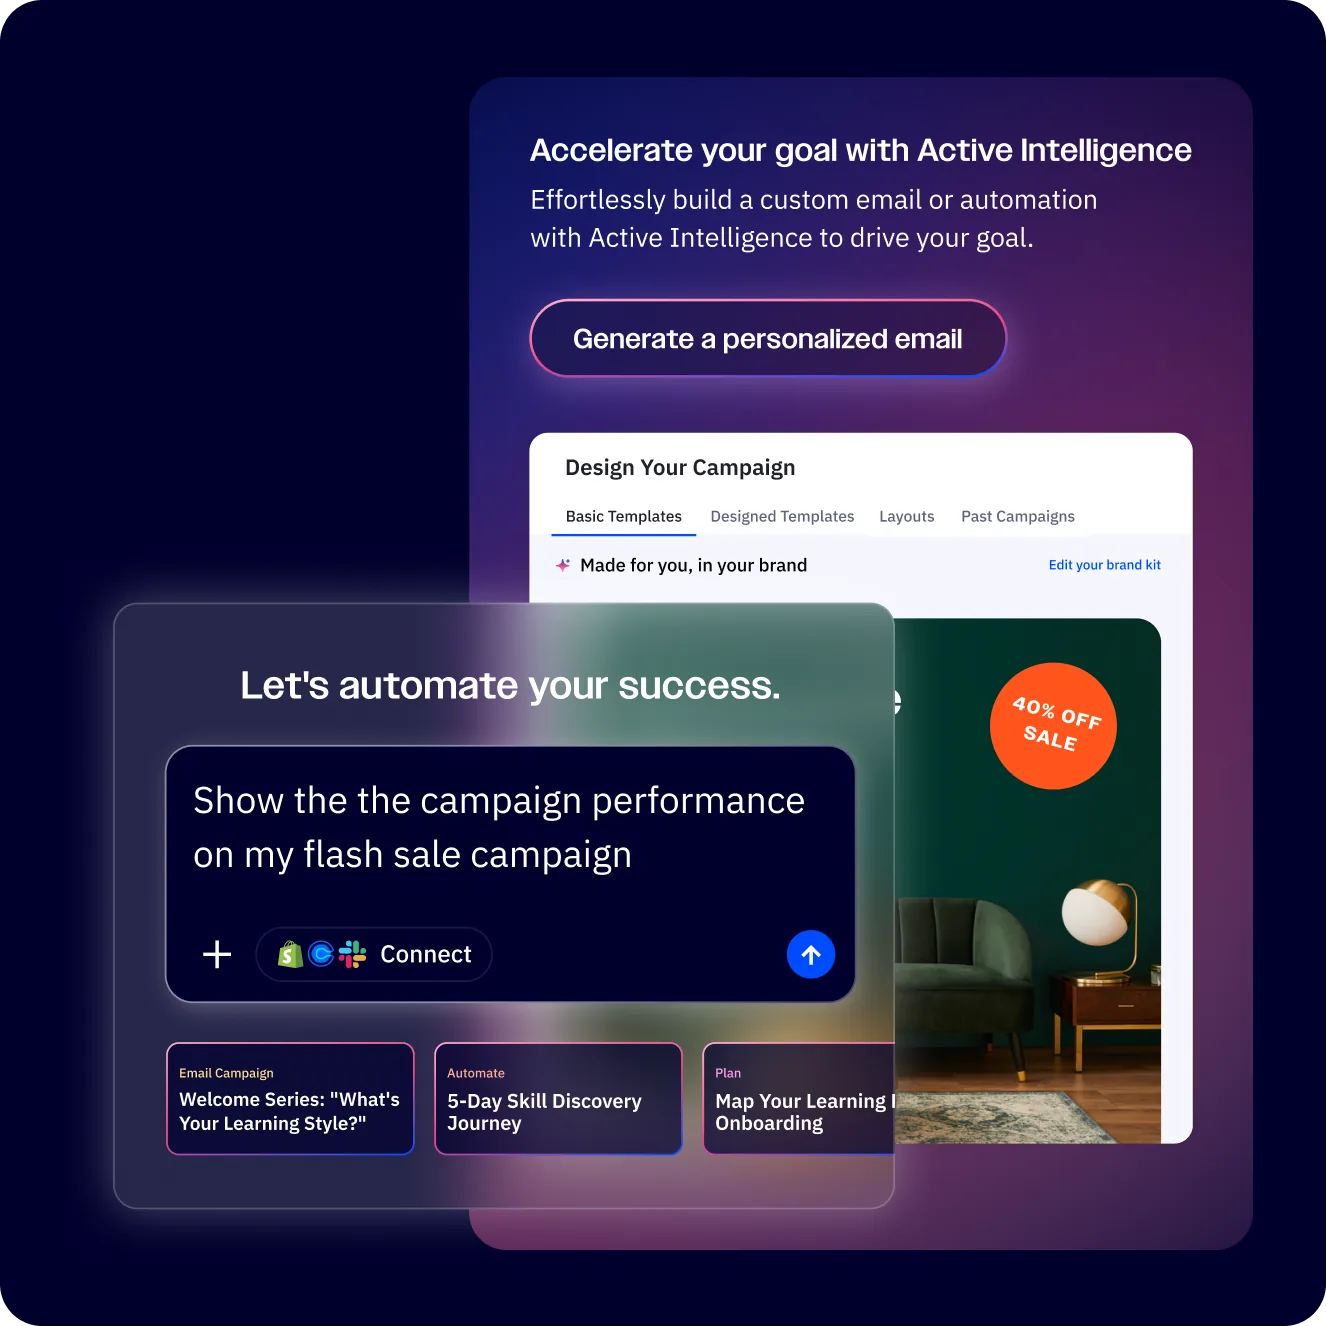
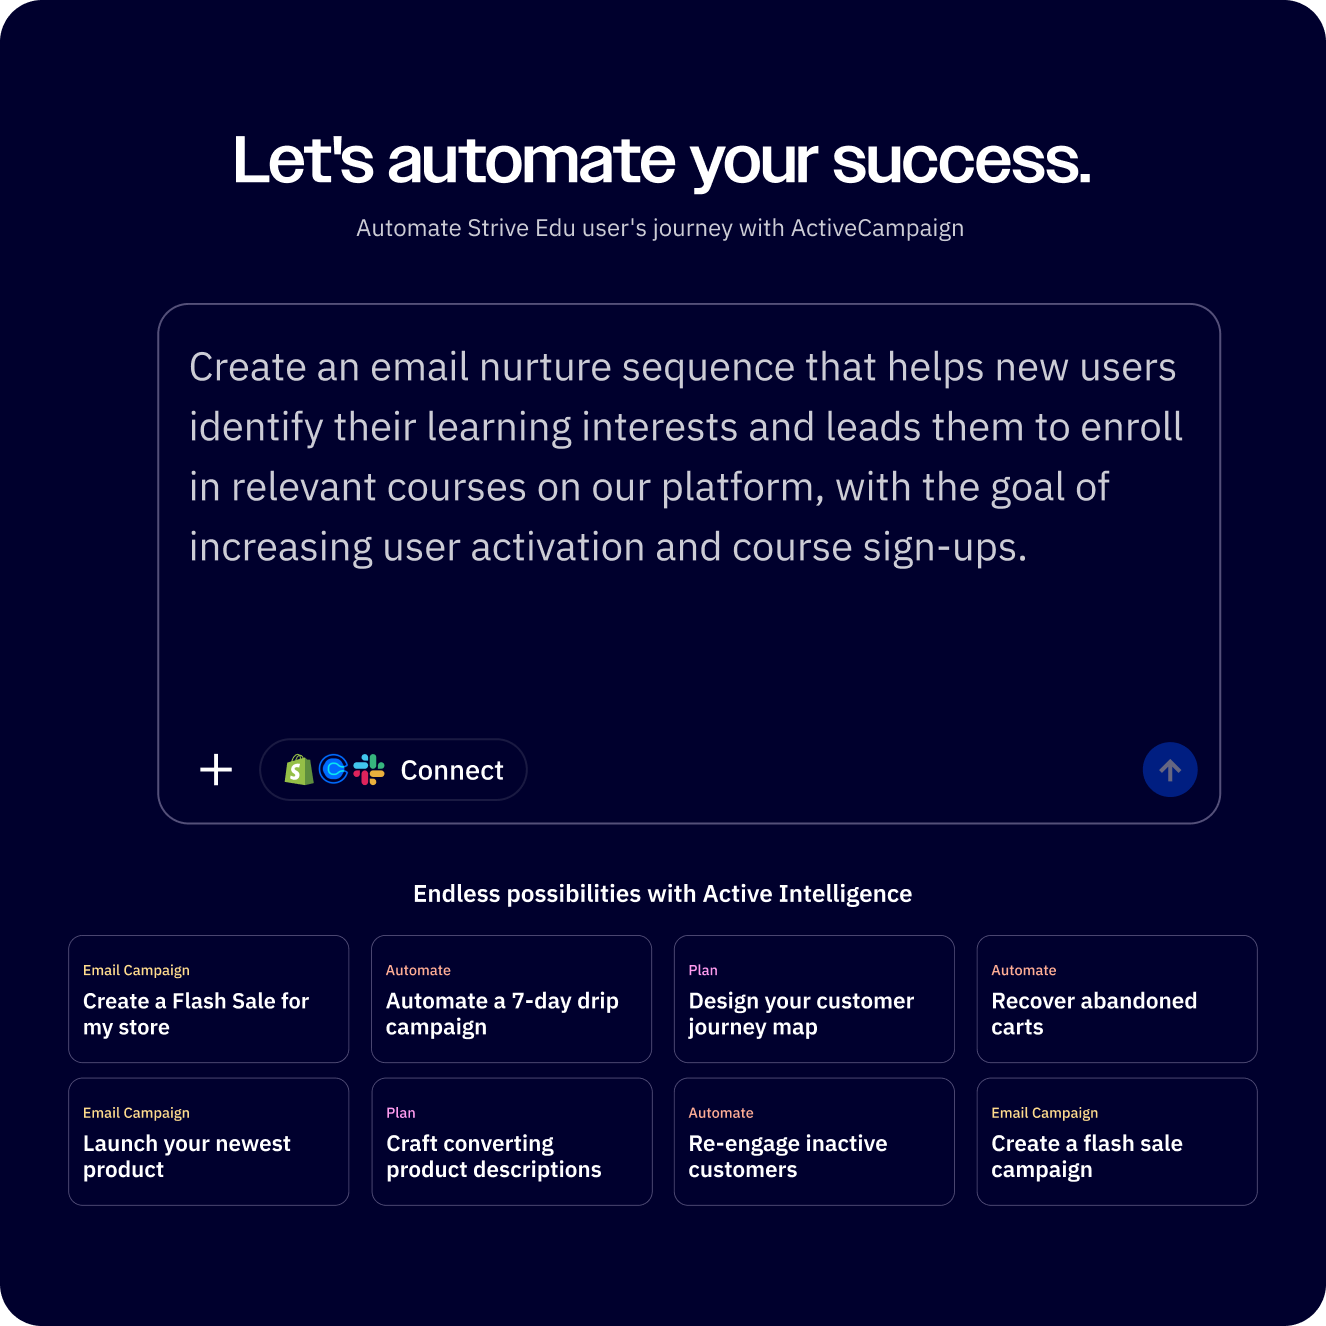
The AI automation builder is ActiveCampaign’s newest addition to the workflow toolkit, part of the broader Active Intelligence AI suite. Instead of selecting triggers, dragging actions, and configuring conditions manually, you describe what you want the automation to accomplish in plain language - and the AI generates a complete workflow for you. ActiveCampaign’s AI marketing blog covers how the underlying models build workflow scaffolding.
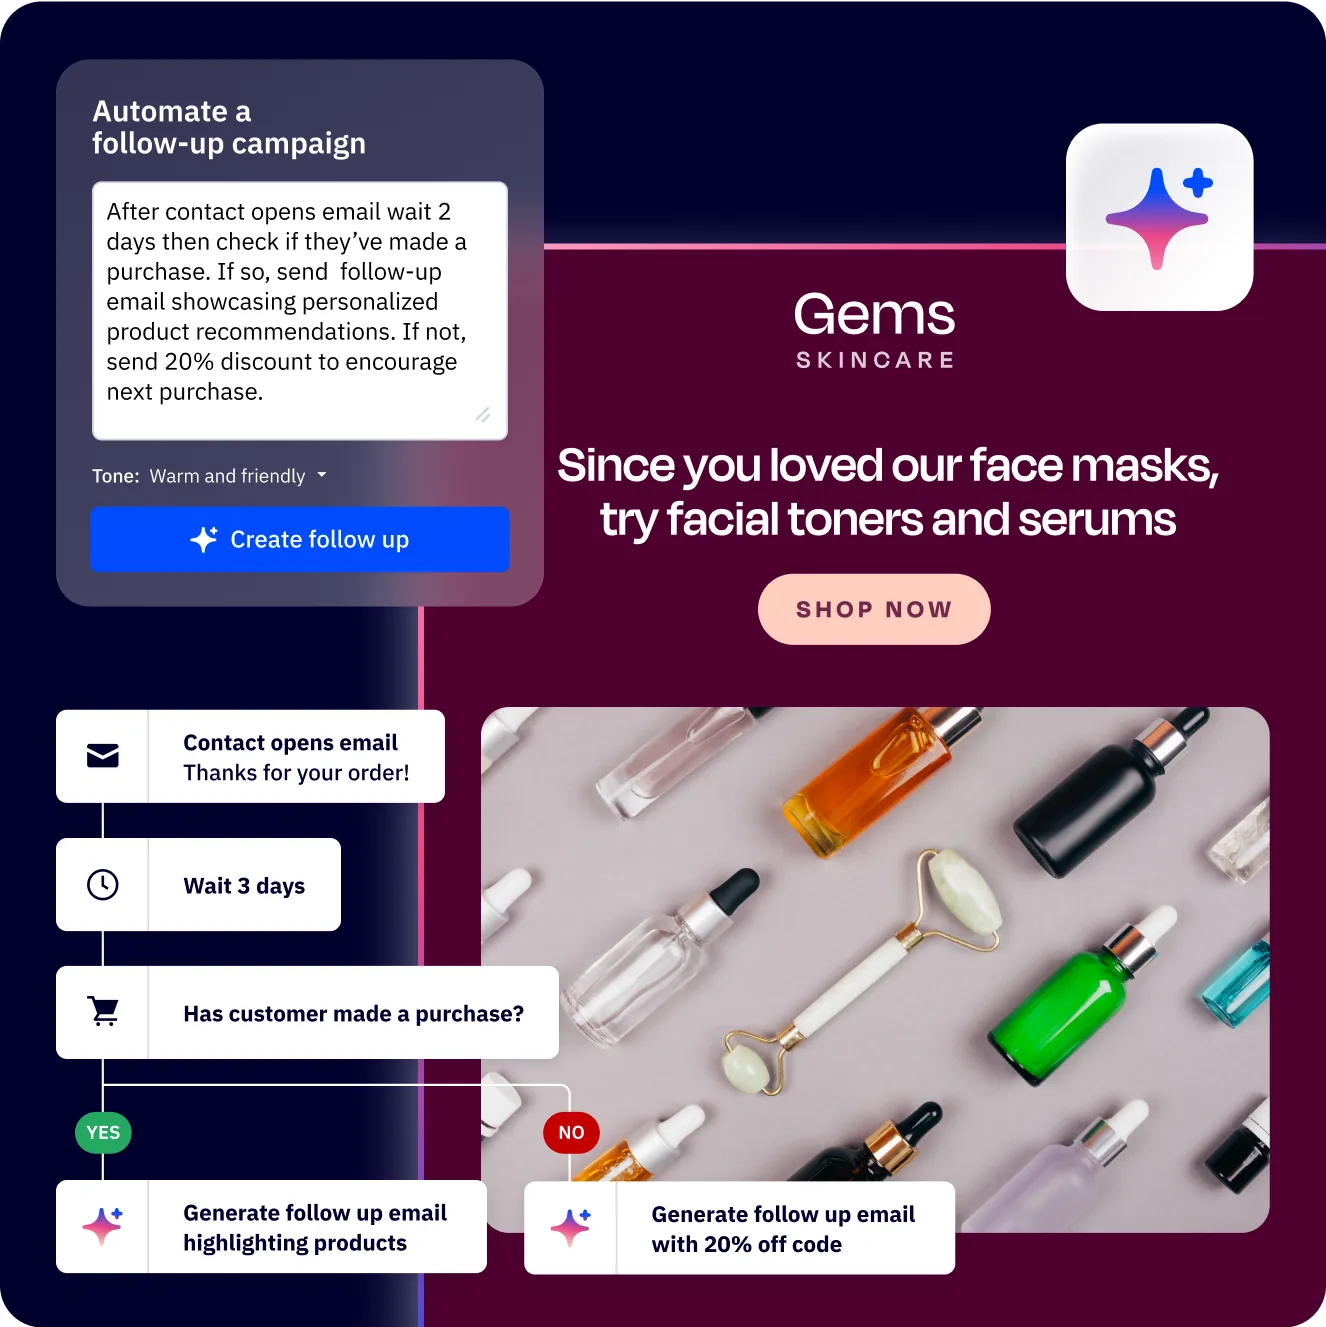
The process follows four steps. First, describe your goal in the text input. Something like “Send a 3-email welcome series when someone subscribes to my newsletter, with different follow-ups based on whether they open the first email.” Second, the AI generates a complete automation including triggers, email placeholders, wait steps, and conditional logic. Third, you review the structure in the visual builder where every element is editable. Fourth, you customize and deploy - fill in email content, adjust timing, and activate.
The AI builder is surprisingly capable for common automation patterns. It handles welcome series, abandoned cart sequences, birthday campaigns, lead nurturing flows, and re-engagement workflows with accurate logic structures. Where it adds the most value is the conditional branching - the AI often suggests If/Else branches you might not have considered, like checking engagement scores or segmenting by purchase history.
Where the AI builder needs human refinement is in timing and messaging specifics. The generated wait durations tend to be generic (3 days between emails regardless of context), and the email subject line suggestions are starting points rather than ready-to-send copy. Treat the AI output as a strong first draft that needs your business context layered on top.
To access the AI builder, click Create an Automation and select the AI option. It is available on all plans, though the complexity of automations it can generate scales with your plan’s feature set - Starter plan automations will not include branching since the plan does not support it.
Advanced Automation Patterns
Once you are comfortable with the basics, these advanced patterns unlock the full power of the ActiveCampaign automation builder.
Multi-branch conditional trees extend If/Else logic into complex decision-making. Nest multiple If/Else blocks to create detailed segmentation paths. For example, check engagement score first (high vs. low), then check purchase history within each branch (buyer vs. non-buyer), creating four distinct paths through a single automation. This approach replaces the need for four separate automations.
Goal-based automations change how contacts move through workflows. A Goal action defines a target state - for instance, “contact makes a purchase.” Any contact in the automation who meets that condition immediately jumps to the goal step, skipping all intermediate actions. This is essential for lead nurturing sequences where the whole point is to drive a conversion. Once the conversion happens, there is no reason to continue sending nurture emails.
Cross-automation linking enables modular automation design. Use “Start an automation” and “End an automation” actions to chain workflows together. A master automation handles initial qualification, then routes contacts into specialized automations based on their segment. This keeps individual automations manageable (10-15 steps each) rather than building monolithic workflows with 50+ steps that become impossible to debug.
Webhook integrations connect your automations to external systems. The webhook action sends an HTTP POST request to any URL with contact data in the payload. Use webhooks to notify Slack when a high-value deal closes, update an external database, trigger actions in tools that lack native ActiveCampaign integrations, or sync data with custom applications. The ActiveCampaign API docs document every payload field a webhook can carry.
Lead scoring within automations adjusts contact scores based on behavior in real time. Add “Adjust score” actions at key points in your workflow - increase the score when a contact opens emails, clicks links, or visits pricing pages. Combine with If/Else conditions that check score thresholds to automatically route hot leads to sales notifications while keeping cooler leads in nurture sequences. Our ActiveCampaign lead scoring guide covers the complete setup for scoring models and threshold-based routing.
Automation Goals and Performance Tracking
Building automations is only half the equation. Tracking their performance tells you whether your workflows are actually driving results or just keeping contacts busy with emails that do not convert.
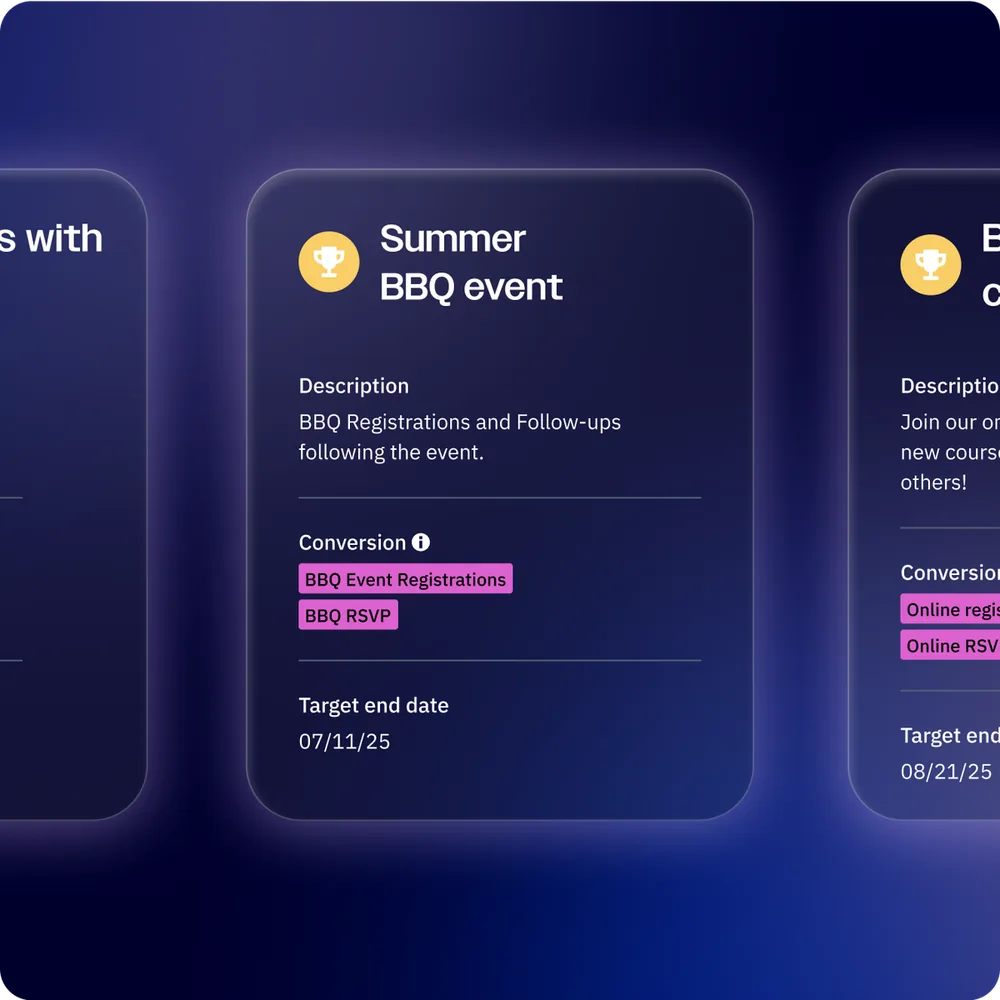
Setting goals within automations gives you conversion metrics for each workflow. A goal can be any condition - a purchase, a form submission, a tag addition, or reaching a certain lead score. When a contact reaches the goal, ActiveCampaign records it and calculates a conversion rate for the automation. This answers the fundamental question: “What percentage of contacts who enter this automation achieve the desired outcome?”
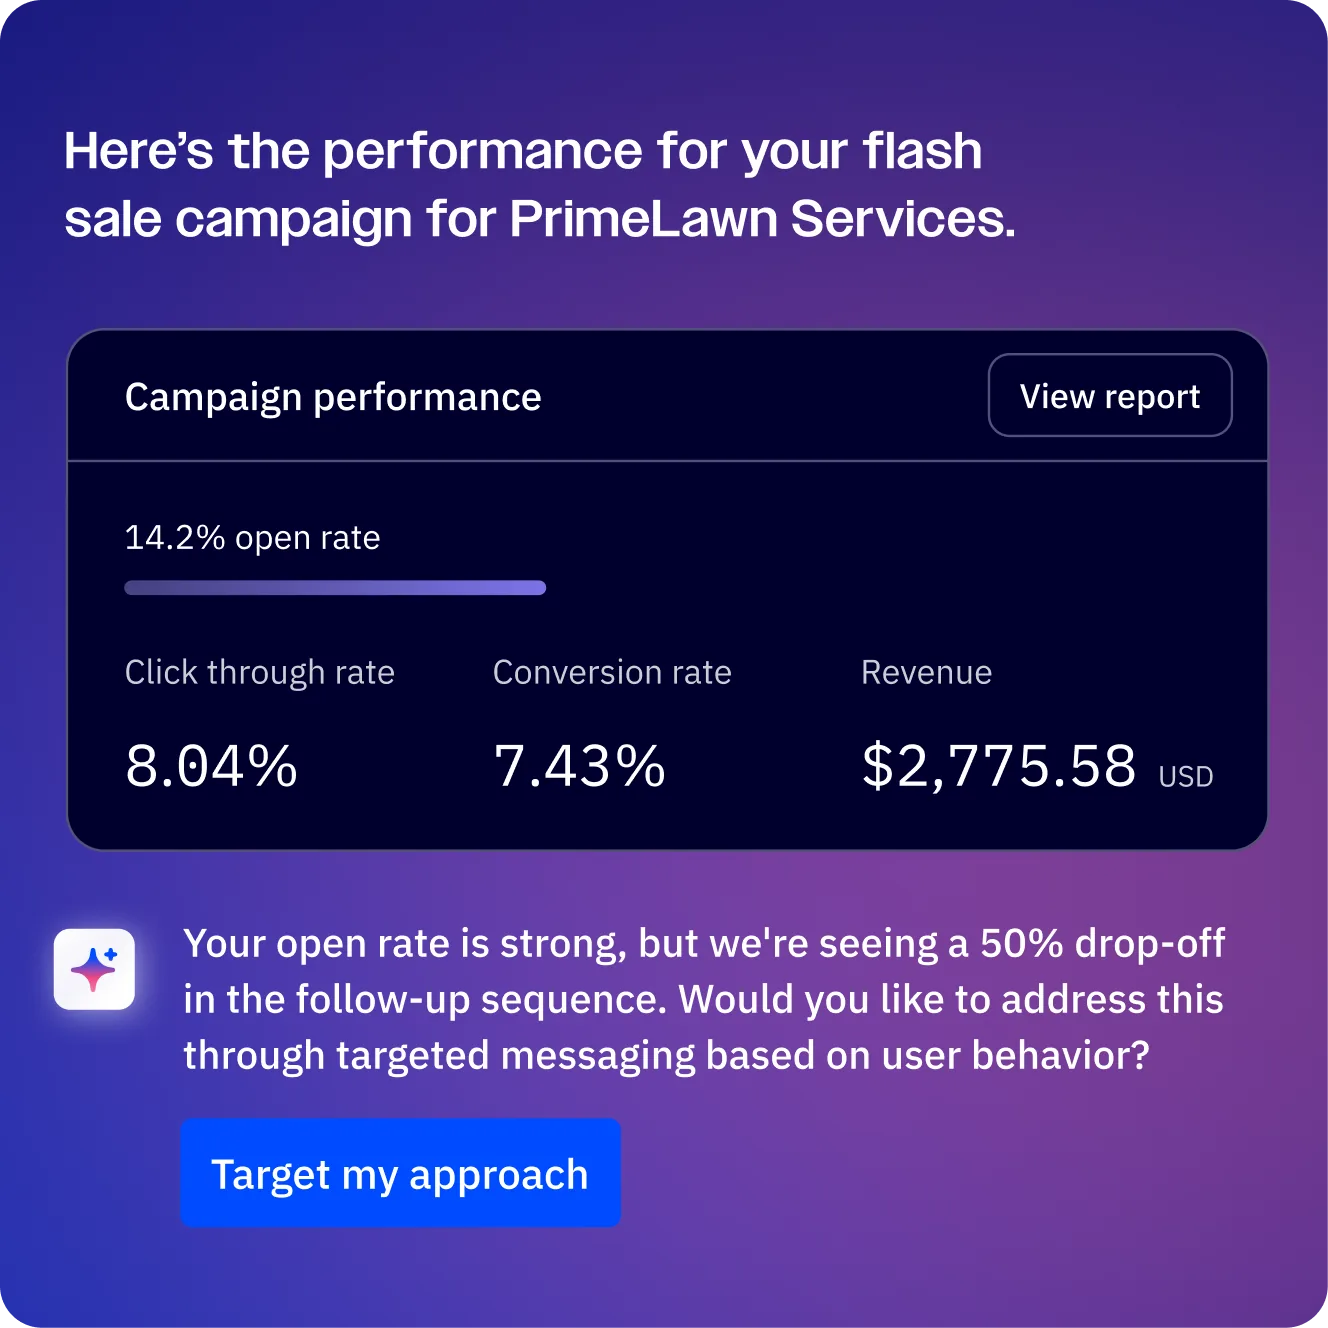
Automation reports show performance data across all your workflows. Navigate to Reports > Automation Reports to see metrics for each active automation including contacts currently in the workflow, contacts who have completed it, goal conversion rates, and email-level metrics (opens, clicks, replies) for every email action in the sequence.
Monitor these metrics weekly when you first launch an automation, then shift to bi-weekly once performance stabilizes. Key signals to watch:
- Completion rate below 40% suggests contacts are getting stuck or exiting early - check your wait conditions and exit rules
- Open rates dropping after the first email indicate your content or timing needs adjustment - try shortening wait durations or testing new subject lines
- Goal conversion rate below 5% for a nurture sequence means your calls-to-action or value proposition need reworking
Common Mistakes and Troubleshooting
After working with dozens of ActiveCampaign automation setups, these are the issues that come up repeatedly.
Forgetting that triggers are not retroactive. This is the single most common mistake with the ActiveCampaign automation builder. You build a beautiful automation triggered by “Tag added: VIP Customer,” but 500 contacts already have that tag and none of them enter the workflow. The fix: after building the automation, go to Contacts, filter by the trigger condition, and use the bulk action “Add to automation” to manually enqueue existing contacts. Reference ActiveCampaign’s automation help docs for trigger nuances by event type.
Not setting proper exit rules. Without exit conditions, contacts can get stuck in loops - especially in automations that use “Go To” actions to redirect back to earlier steps. Always define at least one exit condition. Common examples: unsubscribes from list, achieves the automation goal, or has been in the automation longer than a maximum duration (30 days, 90 days, etc.).
Overlapping automations causing duplicate actions. If a contact is in three different automations and all three send emails, your subscriber gets overwhelmed. Use tags to coordinate between automations. Before sending, add an If/Else that checks “Has tag: received-email-today” and skip the send if true. Add the tag after each send and remove it daily with a scheduled automation.
Confusing wait conditions with wait durations. A “Wait for 3 days” action always pauses for exactly 3 days. A “Wait until contact has opened email” action pauses indefinitely until the condition is met - or the contact exits the automation. Use durations for pacing between emails. Use conditions when progress depends on contact behavior, but always pair them with a timeout (add an “or wait for 7 days” fallback) to prevent contacts from being stuck forever.
Not testing before going live. Deliverability problems are another common oversight - review the email deliverability guide to make sure your sending infrastructure is solid before activating high-volume automations. Add yourself as a test contact and run through the entire automation before activating it for your full list. Verify that emails render correctly, wait durations feel appropriate, and conditions route you to the expected branches. A 10-minute test prevents embarrassing mistakes reaching thousands of contacts.
Frequently Asked Questions
What is the automation builder in ActiveCampaign?
The automation builder is ActiveCampaign’s visual workflow editor where you create automated marketing and sales sequences. It uses a drag-and-drop canvas with triggers (events that start the automation), actions (tasks like sending emails or updating contacts), and conditions (If/Else logic that routes contacts down different paths). Automations run automatically once activated, processing contacts 24/7 without manual intervention.
How do I create an automation from scratch?
Navigate to Automations in the left sidebar, click Create an Automation, and select Start from Scratch. Choose a trigger (the event that starts the workflow), then add actions and conditions by clicking the + icon between steps. Configure each element, set your entry and exit rules using the gear icon, review the complete flow, and toggle the automation to Active when ready.
What are automation recipes and how do I use them?
Automation recipes are pre-built workflow templates that provide a complete automation structure including triggers, actions, wait steps, and conditions. ActiveCampaign offers over 900 recipes organized by industry and use case. To use one, click Create an Automation, select Recipes, browse or filter to find the right template, and import it. The recipe creates the full workflow structure - you then customize the email content, adjust timing, and activate it.
Are ActiveCampaign automation triggers retroactive?
No. Triggers only fire for future events, not past ones. If you create an automation triggered by “Tag added: Premium” and 200 contacts already have that tag, they will not enter the automation. To include existing contacts, go to your Contacts list, filter by the relevant condition, select the contacts, and use the Add to automation bulk action to manually add them.
Can I use AI to build automations in ActiveCampaign?
Yes. The AI automation builder lets you describe your automation goal in plain language - for example, “Create a 4-email onboarding series for new trial users with different paths based on feature adoption.” The AI generates a complete automation with triggers, email placeholders, wait steps, and conditional logic. You review the structure in the visual builder, customize the content and timing, and activate it. The AI builder is available on all plans.
What plan do I need for full automation features?
The Starter plan ($15/month) includes the automation builder but limits automations to 5 actions each and does not support branching logic (If/Else conditions). The Plus plan ($49/month) unlocks unlimited actions, conditional branching, lead scoring, CRM integration, and site tracking. The Professional plan ($149/month) adds predictive sending, split automations, and attribution reporting. For most businesses, the Plus plan provides the right balance of features and cost.
The Bottom Line
The ActiveCampaign automation builder rewards teams that invest 30 minutes upfront understanding triggers, actions, and conditions before building. Once those building blocks click, the ActiveCampaign platform handles welcome series, abandoned cart sequences, lead scoring, and CRM updates without any custom code. Start with one automation - a welcome series is the highest-value first build - then layer additional workflows as your team gets comfortable. Compare automation features across tiers on the ActiveCampaign pricing page, and if you have not picked a tool yet, our best marketing automation tools 2026 roundup compares ActiveCampaign against the major alternatives.
Want to learn more about ActiveCampaign?
Related Guides
- ActiveCampaign Email Automation Workflows
- ActiveCampaign CRM Setup Guide
- ActiveCampaign AI Features Guide
- ActiveCampaign Lead Scoring Guide
- ActiveCampaign Predictive Sending AI
External Resources
- ActiveCampaign Automations Help Center - Official documentation for triggers, actions, conditions, and recipe customization
- ActiveCampaign Marketing Automation Examples - Real-world workflow examples by industry and use case
- ActiveCampaign API Reference - Webhook payload formats and external integration patterns for advanced automations
Related Guides
- Activecampaign AI Content Generation: Complete 2026 Guide
- ActiveCampaign AI Features: Active Intelligence Guide
- Activecampaign Brand Kit: 2026 Walkthrough for Teams
- ActiveCampaign Conditional Content: Personalization Guide
- ActiveCampaign CRM Setup: How to Set Up ActiveCampaign CRM
- ActiveCampaign Deals Pipeline: Stages & Automation
- ActiveCampaign Deliverability: Best Practices Guide
- ActiveCampaign Email Automation: 10 Workflows That Work
- ActiveCampaign Email Campaign Setup: Step-by-Step Guide
- ActiveCampaign Forms: Types, Setup, and Conversion Tips