
Getting started with ActiveCampaign does not have to take a full afternoon. The platform has a reputation for being powerful but complex, and that reputation is earned - there are hundreds of features across email marketing, automation, CRM, SMS, and AI tools. Between the ActiveCampaign training library, help docs, and onboarding resources, you do not need to learn all of it on day one. You need to get the fundamentals right so everything you build later sits on a solid foundation.
This guide walks you through the ActiveCampaign getting started process in about 20 minutes. You will create your account, configure the settings that actually matter, import your contacts, send your first email campaign, build a basic automation, and connect a few key integrations. By the end, you will have a working ActiveCampaign setup that is ready for real marketing - not just a trial account collecting dust.
This ActiveCampaign getting started walkthrough is written for people who are either brand new to ActiveCampaign or switching from another email platform like Mailchimp, ConvertKit, or Constant Contact. No prior experience with marketing automation is required - the ActiveCampaign onboarding process is designed for non-technical users. If you already have an account and want to jump into specific features, check out the ActiveCampaign Automation Builder Guide or the CRM Setup Guide instead.

Prerequisites
Before you start the setup process, gather a few things so you can move through each step without stopping to hunt for information.
An email address for your account. Use your business email, not a personal Gmail. ActiveCampaign ties your sending reputation to your domain, so starting with the right email matters for deliverability down the road - the deliverability guide explains why this single decision compounds for years.
Your company logo and brand colors. You will set these up during onboarding, and they carry through to every email template and landing page. Have your logo file ready (PNG or SVG, at least 200px wide) and your hex color codes on hand.
A contact list to import. This can be a CSV file from your current email tool, a spreadsheet of customers, or even a small test list. You need at least a few contacts to test your first campaign and automation. If you are starting completely from scratch, you can add contacts manually and skip the import for now.
A plan or free trial. ActiveCampaign pricing starts at $15 per month for the Starter plan, which is one of four tiers. For most beginners, the Starter plan covers the basics - email campaigns, simple automations (up to 5 actions), and forms. If you want CRM features (covered in our deal pipeline guide), branching logic in automations, or SMS marketing, you will need the Plus plan with SMS at $49 per month. Start with the 14-day free trial to test everything before committing.
ActiveCampaign Getting Started: Create Your Account and Initial Setup
Sign up at ActiveCampaign’s website and you will land in the onboarding wizard. This is one of the better onboarding experiences in the email marketing space - it asks targeted questions about your business and configures your account accordingly.
Step 1: Complete the onboarding questionnaire. ActiveCampaign asks about your industry, business size, and what you want to accomplish (grow audience, automate marketing, manage sales). Answer honestly - the platform uses these answers to suggest relevant automation recipes and features later.
Step 2: Set your timezone and sending defaults. Navigate to Settings > Account and verify your timezone is correct. This affects when scheduled campaigns send and how automation wait steps calculate timing. While you are here, set your default “From Name” and “From Email” that will appear on outgoing messages.
Step 3: Configure your branding. Go to Settings > Branding and upload your logo, set your brand colors, and add your physical mailing address (required by CAN-SPAM and GDPR). These details auto-populate in email templates and unsubscribe footers, so setting them once saves you from editing every campaign individually.
Step 4: Authenticate your sending domain. This is the step most beginners skip, and it directly impacts whether your emails reach the inbox or land in spam - Gmail’s 2024 sender requirements made authentication mandatory for high-volume senders. Navigate to Settings > Advanced > Email Authentication and follow the prompts to add DKIM and DMARC records to your domain’s DNS. ActiveCampaign provides the exact records to add - you just need access to your domain registrar (GoDaddy, Namecheap, Cloudflare, or wherever your domain is hosted). This takes 5 minutes and dramatically improves deliverability.
Import Your Contacts
With your account configured, the next step is getting your contacts into the platform. ActiveCampaign organizes contacts using lists, tags, and custom fields - and understanding this structure from the start prevents headaches later.
Create your first list. Navigate to Contacts > Lists and click Add a List. A list in ActiveCampaign is a top-level container for contacts who have opted in to receive communication from you. Most businesses start with one or two lists - something like “Newsletter Subscribers” and “Customers.” Keep your list structure simple. Tags and custom fields handle the segmentation; lists handle consent.
Import contacts from CSV. Go to Contacts > Import and upload your CSV file. ActiveCampaign walks you through mapping columns in your spreadsheet to contact fields. At minimum, you need an email column. First name, last name, phone number, and company are useful but optional. During the import, you will assign contacts to a list and confirm they have opted in to receive email from you.
For deeper patterns on how to design tag and list structures from day one, see our segmentation strategies guide.
Set up tags for segmentation. Tags are lightweight labels you attach to contacts for segmentation and automation triggers. Create a few starter tags that match your business: “Lead,” “Customer,” “VIP,” “Webinar Attendee,” or whatever categories make sense. You can add tags during import by mapping a CSV column, or add them manually after import. The key principle is this - use lists for permission and tags for organization.
Create custom fields for your data. If your contacts have data that does not fit into standard fields (plan type, signup source, industry, purchase date), create custom fields under Contacts > Manage Fields. Custom fields can be text, date, dropdown, or checkbox types. Set these up before your import so you can map CSV columns to them during the upload process.
Send Your First Email Campaign
Sending your first campaign is the best way to verify that your account, contacts, and branding are all set up correctly. ActiveCampaign calls one-time email sends “Campaigns” (as opposed to automated emails, which live inside Automations). Our ActiveCampaign email campaign setup guide goes deeper into template design, A/B testing, and deliverability optimization if you want to go beyond the basics covered here.
Step 1: Create a new campaign. Navigate to Campaigns > Create a Campaign. Choose “Standard” as the campaign type. Give it an internal name you will recognize later - something like “March Newsletter” or “Welcome Announcement.”
Step 2: Select your recipients. Choose the list you created in the previous section. You can also narrow your audience by adding conditions - only contacts with a specific tag, in a certain location, or who joined after a particular date. For your first send, keep it simple and send to your full list.
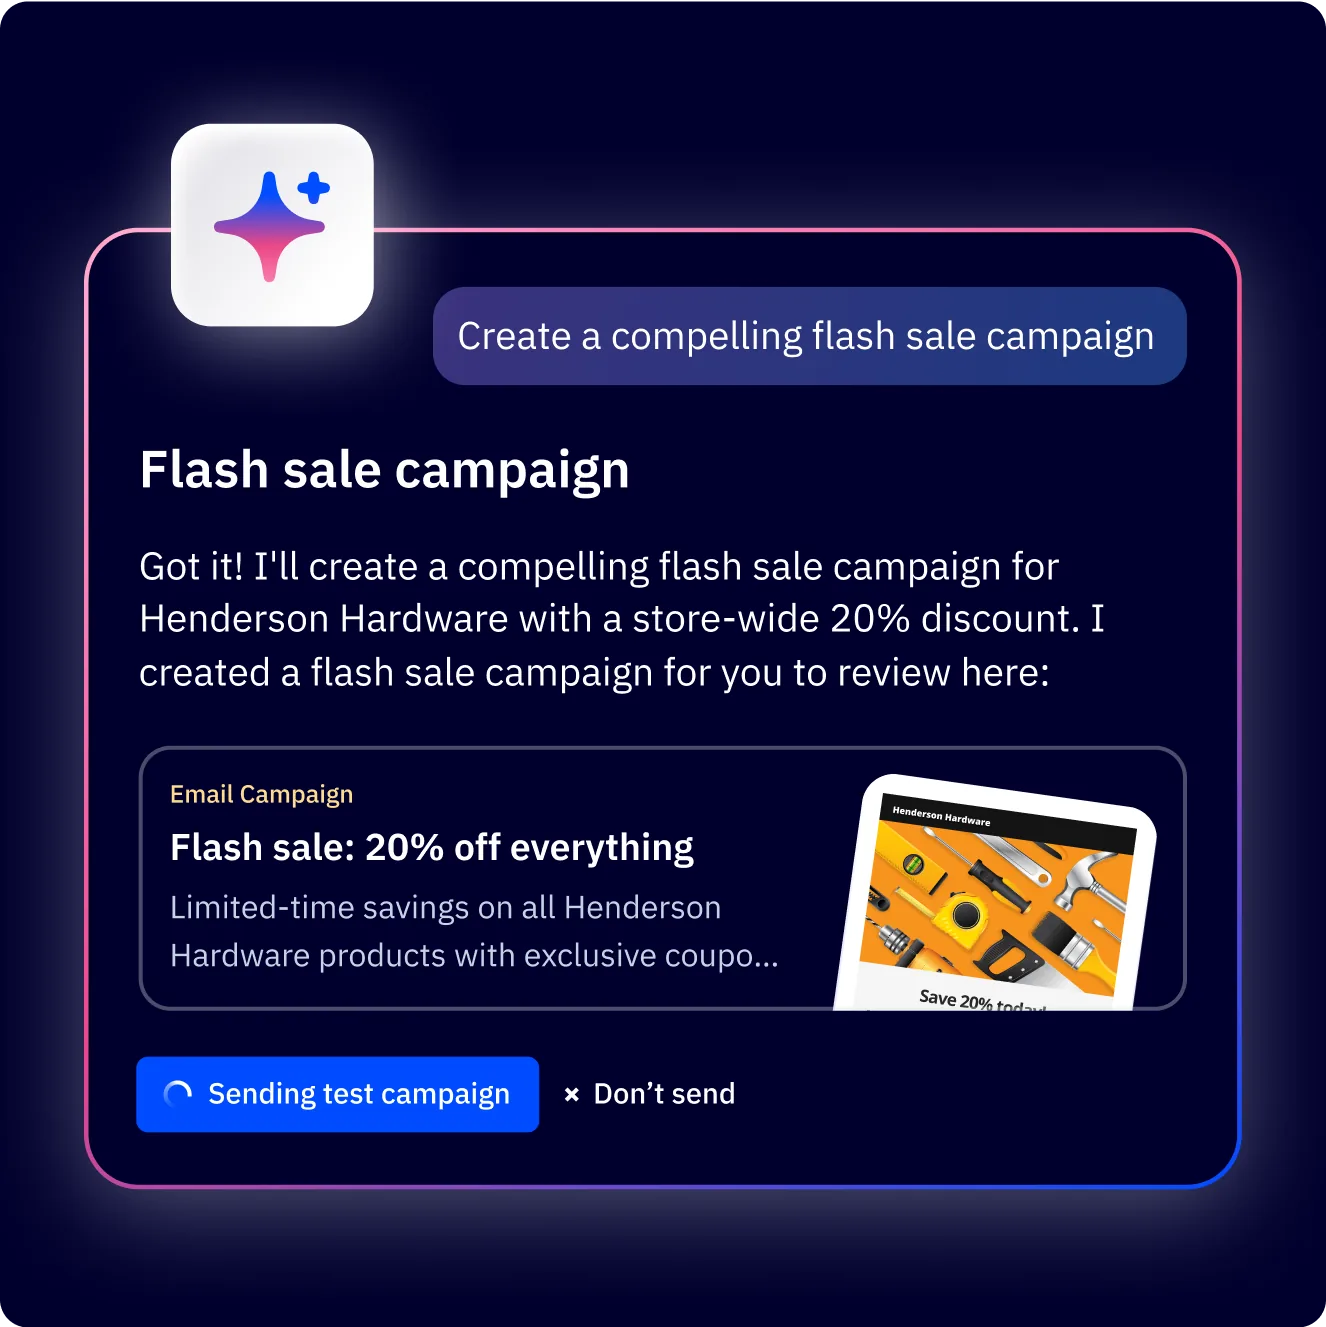
Step 3: Design your email. ActiveCampaign offers three approaches. The drag-and-drop designer is the most beginner-friendly - pick a template from the library, swap in your content, and customize colors and images. The AI campaign builder can generate a complete email from a text prompt describing what you want to say. Or you can use the HTML editor if you have a custom template. For your first campaign, start with a pre-built template and modify it with your content. The email marketing platform overview documents every designer feature in one place.
Step 4: Write your subject line and preview text. The subject line is the single biggest factor in whether someone opens your email - Litmus benchmark data shows the median lift from a strong subject line is 22% on opens. Keep it under 50 characters, be specific about what is inside, and avoid spam trigger words like “free” or “urgent.” Preview text (the snippet that appears after the subject in the inbox) should complement your subject line, not repeat it.
Step 5: Send a test email. Click Send a Test Email in the top right corner and send it to yourself. Check how it looks on desktop and mobile. Verify that links work, images load, and your branding appears correctly. This step catches problems that the preview mode misses.
Step 6: Schedule or send immediately. Once your test looks good, choose your sending option. You can send immediately, schedule for a specific date and time, or use ActiveCampaign’s predictive sending (Professional plan) which delivers to each contact at their optimal open time. For your first campaign, scheduling 15-30 minutes out gives you a buffer to catch any last-minute issues.
Set Up Your First Automation
Automations are what separate ActiveCampaign from basic email tools. A campaign sends one email to many people at one time. An automation sends the right email to the right person at the right time - automatically and continuously. Your first automation should be a welcome email sequence that fires when someone joins your list.
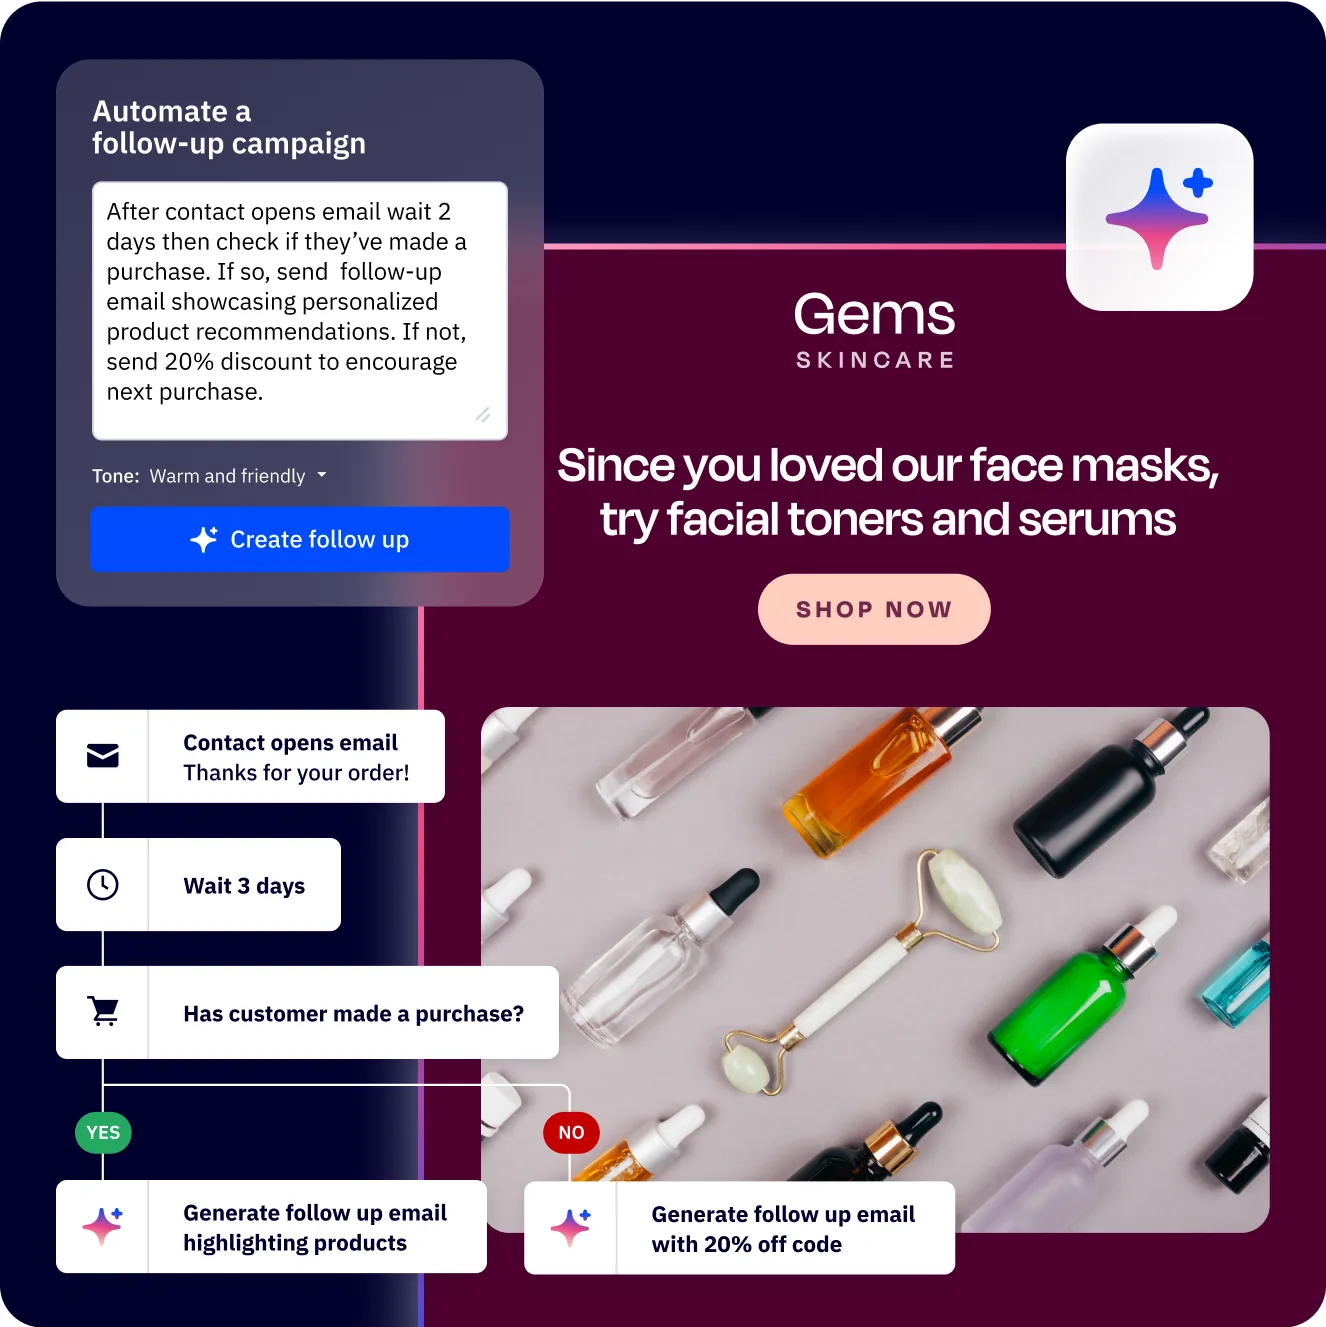
Step 1: Create a new automation. Navigate to Automations > Create an Automation. You will see three options: start from scratch, use a recipe, or describe what you want and let the AI builder create it. For a welcome sequence, select Recipes and search for “Welcome Series” - ActiveCampaign has several pre-built versions you can customize.
Step 2: Configure the trigger. The trigger defines what starts the automation. For a welcome series, set the trigger to “Subscribes to a list” and select your main list. Under trigger options, set “Runs” to “Once” so contacts only go through the welcome sequence one time, even if they resubscribe later.
Step 3: Add your welcome email. Click the plus icon below the trigger to add a “Send an Email” action. Design your welcome email - introduce yourself or your brand, set expectations for what subscribers will receive, and include one clear call to action. Keep this email short. People opened it because they just signed up and want confirmation, not a 2,000-word essay.
Step 4: Add a wait step. Below your first email, add a “Wait” action. Set it to wait 2-3 days. This gives your new subscriber time to read your welcome email and engage with your brand before the next message arrives. Sending too many emails in the first few hours is the fastest way to trigger unsubscribes.
For prebuilt sequences you can drop into this slot, browse our email automation workflows guide for ten proven recipes.
Step 5: Add follow-up emails. After the wait step, add one or two more emails that deliver value - a helpful resource, your most popular content, or a quick tip related to why they signed up. Space these 2-3 days apart. A three-email welcome sequence over a week is a strong starting point that you can expand later as you learn what resonates.
Step 6: Set the automation to active. Toggle the automation status to “Active” in the top right corner. New subscribers will now automatically enter your welcome sequence. You can monitor performance under the automation’s reporting tab, which shows open rates, click rates, and completion rates for each step.
Connect Your Essential Integrations
ActiveCampaign integrates with over 900 apps, but you do not need to connect all of them on day one. Focus on the five integrations that make the biggest immediate difference.
Website tracking. Install the ActiveCampaign site tracking code on your website. Navigate to Settings > Tracking > Site Tracking, copy the JavaScript snippet, and add it to your site’s header (or use Google Tag Manager). Site tracking lets you see which pages contacts visit, trigger automations based on page views, and build segments of contacts who visited specific URLs. This is the single most valuable integration because it connects email behavior to website behavior.
Forms. ActiveCampaign includes a built-in form builder under Website > Forms. Create at least one signup form and embed it on your website - in the sidebar, footer, or as a pop-up. Forms automatically add subscribers to lists and can apply tags, trigger automations, and collect custom field data. Our ActiveCampaign forms setup guide covers advanced form types and embedding options in detail. If you already use a form tool like Typeform or Gravity Forms, connect it via the integrations marketplace instead.
CRM (if on Plus plan or above). Navigate to Deals in the left sidebar and set up your first sales pipeline. Even a simple pipeline with stages like “New Lead > Contacted > Proposal Sent > Won/Lost” gives you visibility into your sales process and lets you connect automations to deal activity.
E-commerce (if applicable). If you sell online, connect your Shopify, WooCommerce, or BigCommerce store under Settings > Integrations. This syncs purchase data, enables abandoned cart automations, and lets you segment contacts by purchase history - which unlocks some of the most profitable email automations you can run. The ActiveCampaign Shopify integration guide covers the full setup process for Shopify stores.
Calendar tool. Connect Calendly, Acuity, or your scheduling tool so booked appointments can trigger automations, update contact records, and create CRM deals automatically. Find these under the ActiveCampaign integrations marketplace.
Verify Everything Works
Before you consider your setup complete, run through these checks to confirm everything is functioning correctly.
Send yourself a test email. Create a quick one-off campaign or trigger your welcome automation by adding yourself to a list. Verify the email arrives in your inbox (not spam), the branding looks correct, links work, and the “From” name and email match what you configured.
Check site tracking. Visit your own website in a browser where you are logged into ActiveCampaign (or where the tracking cookie exists). Then navigate to your contact record in ActiveCampaign and look for the “Recent Activity” section. You should see your page visits appearing within a few minutes.
Trigger your automation. Add a test contact (use a different email address or a plus-alias like yourname+test@yourdomain.com) to the list that triggers your welcome automation. Watch the automation’s status page to confirm the contact enters, receives the first email, and progresses through the wait step. This validates that your trigger, email content, and timing all work as expected.
Review your authentication. Go to Settings > Advanced > Email Authentication and confirm that DKIM and DMARC both show green checkmarks. If they are still pending, DNS propagation can take up to 48 hours - check back later if you just added the records.
Check your sending reputation. Under Reports > Contacts, verify your bounce rate and complaint rate are at zero (they should be for a new account). These numbers matter because ActiveCampaign monitors sending reputation at the account level, and starting clean is essential.
Next Steps
You now have a working ActiveCampaign setup with imported contacts, a live campaign, a running automation, and connected integrations. Here is where to go from here.
Build more automations. The welcome series is just the beginning. Explore abandoned cart recovery, re-engagement campaigns for inactive subscribers, and post-purchase follow-ups. The ActiveCampaign Automation Builder Guide covers triggers, conditions, branching logic, and advanced patterns in detail.
Set up your CRM pipeline. If you are on the Plus plan or above and did not fully configure your CRM during initial setup, the ActiveCampaign CRM Setup Guide walks through pipeline creation, deal management, lead scoring, and sales automation step by step.
Explore revenue-driving email workflows. Once you are comfortable with the basics, the ActiveCampaign Email Automation Workflows guide covers 10 proven sequences - lead nurture, cart recovery, win-back campaigns, and more - with timing recommendations and setup details.
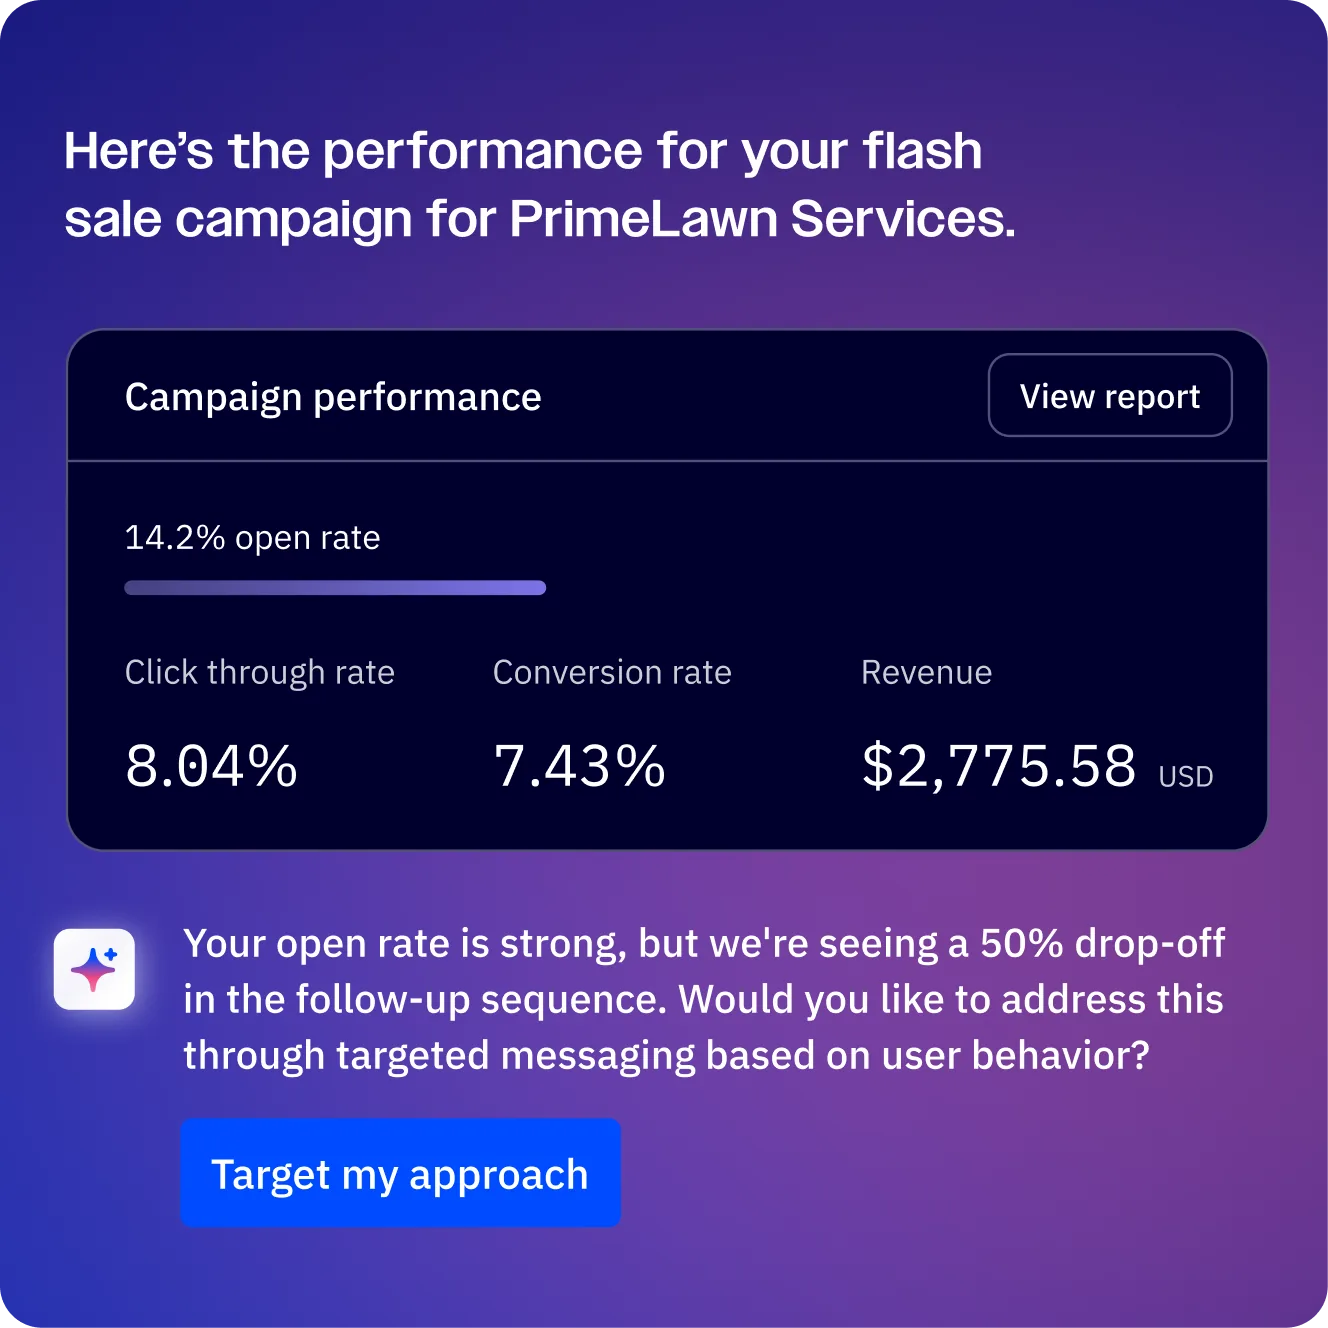
Try the AI features. ActiveCampaign has been building AI into the platform aggressively. The AI-powered features include an automation builder that generates workflows from text descriptions, a campaign builder that writes email copy, predictive sending optimization, and sentiment analysis on contact interactions. These features work best once you have some campaign data flowing through the platform.
Frequently Asked Questions
How long does it take to set up ActiveCampaign?
A basic ActiveCampaign getting started setup takes about 20 minutes if you have your contact list, logo, and brand colors ready. This includes account creation, branding configuration, contact import, and sending your first campaign. Domain authentication adds another 5 minutes of your time plus up to 48 hours for DNS propagation. Building out automations, integrations, and advanced features is an ongoing process that unfolds over the first few weeks.
Do I need technical skills to get started?
No. The onboarding wizard, drag-and-drop email designer, and visual automation builder are all designed for non-technical users. The only step that touches anything technical is domain authentication (adding DNS records), and ActiveCampaign provides copy-paste instructions for every major registrar. If you can follow a recipe, you can set up ActiveCampaign.
What is the best plan for beginners?
Start with the 14-day free trial which gives you access to all features. After the trial, most beginners do well on the Starter plan at $15 per month - it includes email campaigns, basic automations (up to 5 actions per automation), and forms. If you need CRM features, advanced automation branching, or SMS marketing, upgrade to the Plus plan at $49 per month. You can always start on Starter and upgrade later as your needs grow. Compare all options on the pricing page.
Can I migrate from Mailchimp to ActiveCampaign?
Yes. ActiveCampaign offers a free migration service that transfers your contacts, lists, tags, templates, and automations from Mailchimp. The migration team handles the technical work - you provide access to your Mailchimp account and they rebuild your setup in ActiveCampaign. The process typically takes a few business days depending on the complexity of your account. You can also do a manual migration by exporting your Mailchimp contacts as a CSV and importing them using the process described in this guide. If you are still evaluating platforms, our best email marketing tools 2026 comparison covers how ActiveCampaign stacks up against the field.
What should I set up first when getting started?
For ActiveCampaign getting started, follow this priority order: (1) account branding and domain authentication, (2) contact import with proper list and tag structure, (3) a welcome email automation, (4) your first campaign, and (5) site tracking. This sequence ensures your foundation is solid before you start sending. Domain authentication in particular should happen first because DNS propagation can take time, and you want it verified before your first real campaign goes out.
Want to learn more about ActiveCampaign?
Related Guides
- ActiveCampaign Automation Builder Guide
- ActiveCampaign CRM Setup Guide
- ActiveCampaign Email Automation Workflows
- ActiveCampaign Email Campaign Setup
- ActiveCampaign Forms Setup Guide
Related Reading
External Resources
- ActiveCampaign Help Center - Official knowledge base covering every feature with step-by-step articles
- ActiveCampaign Learn - Getting Started - Vendor’s official onboarding course and video walkthroughs
- ActiveCampaign Developer Portal - REST API and webhook documentation for technical integrations
Related Guides
- Activecampaign AI Content Generation: Complete 2026 Guide
- ActiveCampaign AI Features: Active Intelligence Guide
- Activecampaign Automation Builder: Complete 2026 Guide
- Activecampaign Brand Kit: 2026 Walkthrough for Teams
- ActiveCampaign Conditional Content: Personalization Guide
- ActiveCampaign CRM Setup: How to Set Up ActiveCampaign CRM
- ActiveCampaign Deals Pipeline: Stages & Automation
- ActiveCampaign Deliverability: Best Practices Guide
- ActiveCampaign Email Automation: 10 Workflows That Work
- ActiveCampaign Email Campaign Setup: Step-by-Step Guide