


Text to video AI tools are platforms that convert written scripts into polished videos with voiceover, visuals, and music in under 20 minutes. This guide walks through the complete workflow using Fliki, Pictory, and InVideo AI - covering script preparation, scene customization, transitions, and export for YouTube, LinkedIn, or client presentations.
Creating videos from text feels like magic the first time you see a tool convert a script into a polished video with voiceover, visuals, and music in under 20 minutes. Before AI, this same workflow would have taken hours with traditional video editing software.
Text to video AI tools have transformed content creation for YouTube, LinkedIn, and client presentations. Instead of wrestling with timeline editors and stock footage libraries, creators can focus on what matters most: the message. The AI handles the technical heavy lifting - matching visuals to narration, timing transitions, and even selecting background music that fits the mood.
This tutorial walks through the complete workflow for creating videos from text using three standout tools: Fliki, Pictory, and InVideo AI. You’ll learn the exact process from preparing your script to exporting a finished video.
Prerequisites
Text to Video AI Tools covers the strategies and tools that deliver real productivity gains in this space. Creating videos from text feels like magic the first time you see a tool convert a script into a. This guide walks through the practical steps from setup through advanced optimization.
When exploring text to video ai tools, consider the following.
Before you start, you’ll need:
- A script or article (300-2000 words works best)
- Clear objectives (social media clip vs. full tutorial vs. explainer video)
- An account with one of the tools below (all offer free trials)
- Basic content editing skills (you’ll need to review and adjust AI suggestions)
Most AI text to video generators work best when you give them structured input - headings, bullet points, or clearly separated paragraphs. Dumping a wall of text rarely produces good results on the first try. Our content marketer’s guide to AI tools has more tips on script structure for video output.
Quick Overview: Text-to-Video Workflow
Here’s the basic process for converting text to video with AI:
- Prepare your script (clean formatting, clear structure)
- Choose your tool based on your use case
- Upload/paste your text into the AI tool
- Customize AI-generated scenes (visuals, voiceover, timing)
- Add music and transitions (most tools auto-select, but you’ll want to review)
- Preview and refine (this is where the real work happens)
- Export and publish
The entire process typically takes 15-30 minutes once you know the tools. Here’s how it works with each platform.
Tool 1: Fliki - Best for Speed and Voiceover Quality
Pricing: Standard plan (see current pricing on their website) Time to first video: 10-15 minutes Best for: Quick social media videos, explainers, narrated presentations
Fliki shines when you need to create a video fast. It has the most intuitive workflow of the three tools and widely regarded as having the best AI voiceovers available - over 2,500 voices in 75+ languages, many of which sound remarkably human.
Step-by-Step: Creating a Video with Fliki
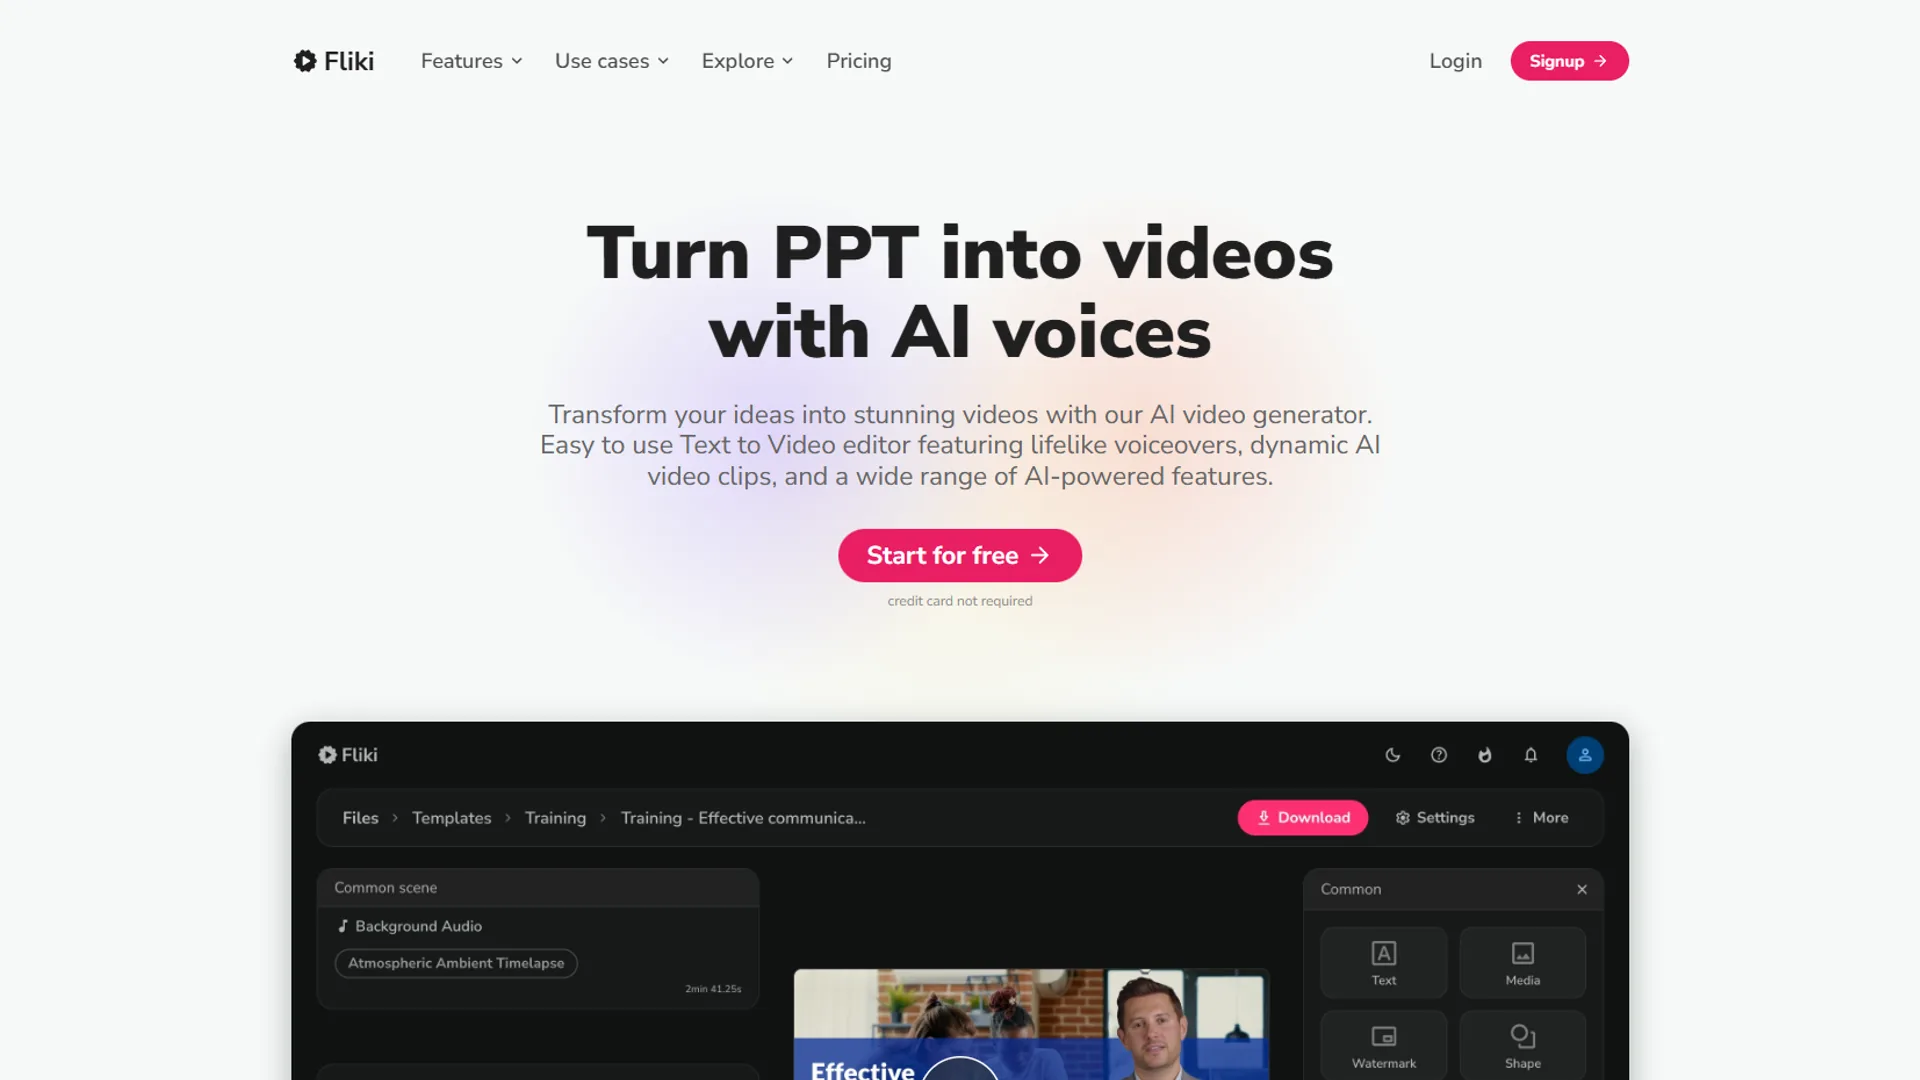
1. Start with File or Idea
After logging in, click “New file” and choose either:
- Article to video (paste a URL or text)
- Idea to video (describe what you want, AI writes the script)
- Script to video (paste your pre-written script)
For this tutorial, we’ll use Script to video since the script is already prepared.
2. Paste Your Script
Copy your entire script into the text box. Fliki automatically:
- Breaks text into scenes (one per paragraph or heading)
- Suggests visuals for each scene
- Assigns a default voiceover
3. Choose Your Voice
This is where Fliki shines. Click “Voice” in the left sidebar and browse:
- Realistic AI voices (standouts: Marcus, Aria, and Sara)
- Language options (English, Spanish, French, etc.)
- Speed and pitch controls
Listen to samples before choosing - some voices work better for professional narration, others for casual social videos. The roundup of the best AI voice generators 2026 compares the top voiceover engines side by side.
4. Customize Each Scene
Click through each scene and adjust:
- Visuals: Replace AI-suggested stock videos/images with better matches
- Text overlays: Add captions or key points
- Scene duration: Extend or shorten based on narration length
Fliki’s media library includes millions of stock assets from Storyblocks and Unsplash. Expect to replace 30-40% of the AI-selected visuals with more specific options.
5. Add Music (Optional)
Click “Music” in the toolbar and choose a background track. Fliki auto-adjusts volume so it doesn’t overpower the voiceover. Best practices:
- Upbeat tracks for product demos
- Ambient music for tutorials
- No music for professional presentations (unless specifically requested)
6. Preview and Export
Click “Preview” to watch the full video. Check for:
- Voiceover pacing (too fast or too slow?)
- Visual/audio sync (does the footage match what’s being said?)
- Transitions (are they smooth or jarring?)
Once satisfied, click “Export” and choose your resolution:
- 720p (free tier)
- 1080p (Standard plan and up)
Export typically takes 2-5 minutes depending on video length.
Fliki Verdict
Best for: Creators who need high-quality voiceovers and fast turnaround times. If you’re making narrated explainers or YouTube videos, Fliki’s voice quality alone justifies the subscription.
Limitations: Less control over animation and transitions compared to InVideo AI. The visual library is extensive but sometimes generic - expect to do manual replacements for niche topics.
Tool 2: Pictory - Best for Repurposing Long-Form Content
Pricing: Starter plan (see current pricing on their website) Time to first video: 15-25 minutes Best for: Converting blogs into videos, creating highlight reels from webinars
Pictory excels at repurposing existing content - turning a 2,000-word blog post into a 3-minute video or extracting key clips from a long webinar recording. Its article-to-video feature is widely considered the most sophisticated in this category. For a deeper walkthrough, see the Pictory articles-to-videos guide.
Step-by-Step: Creating a Video with Pictory
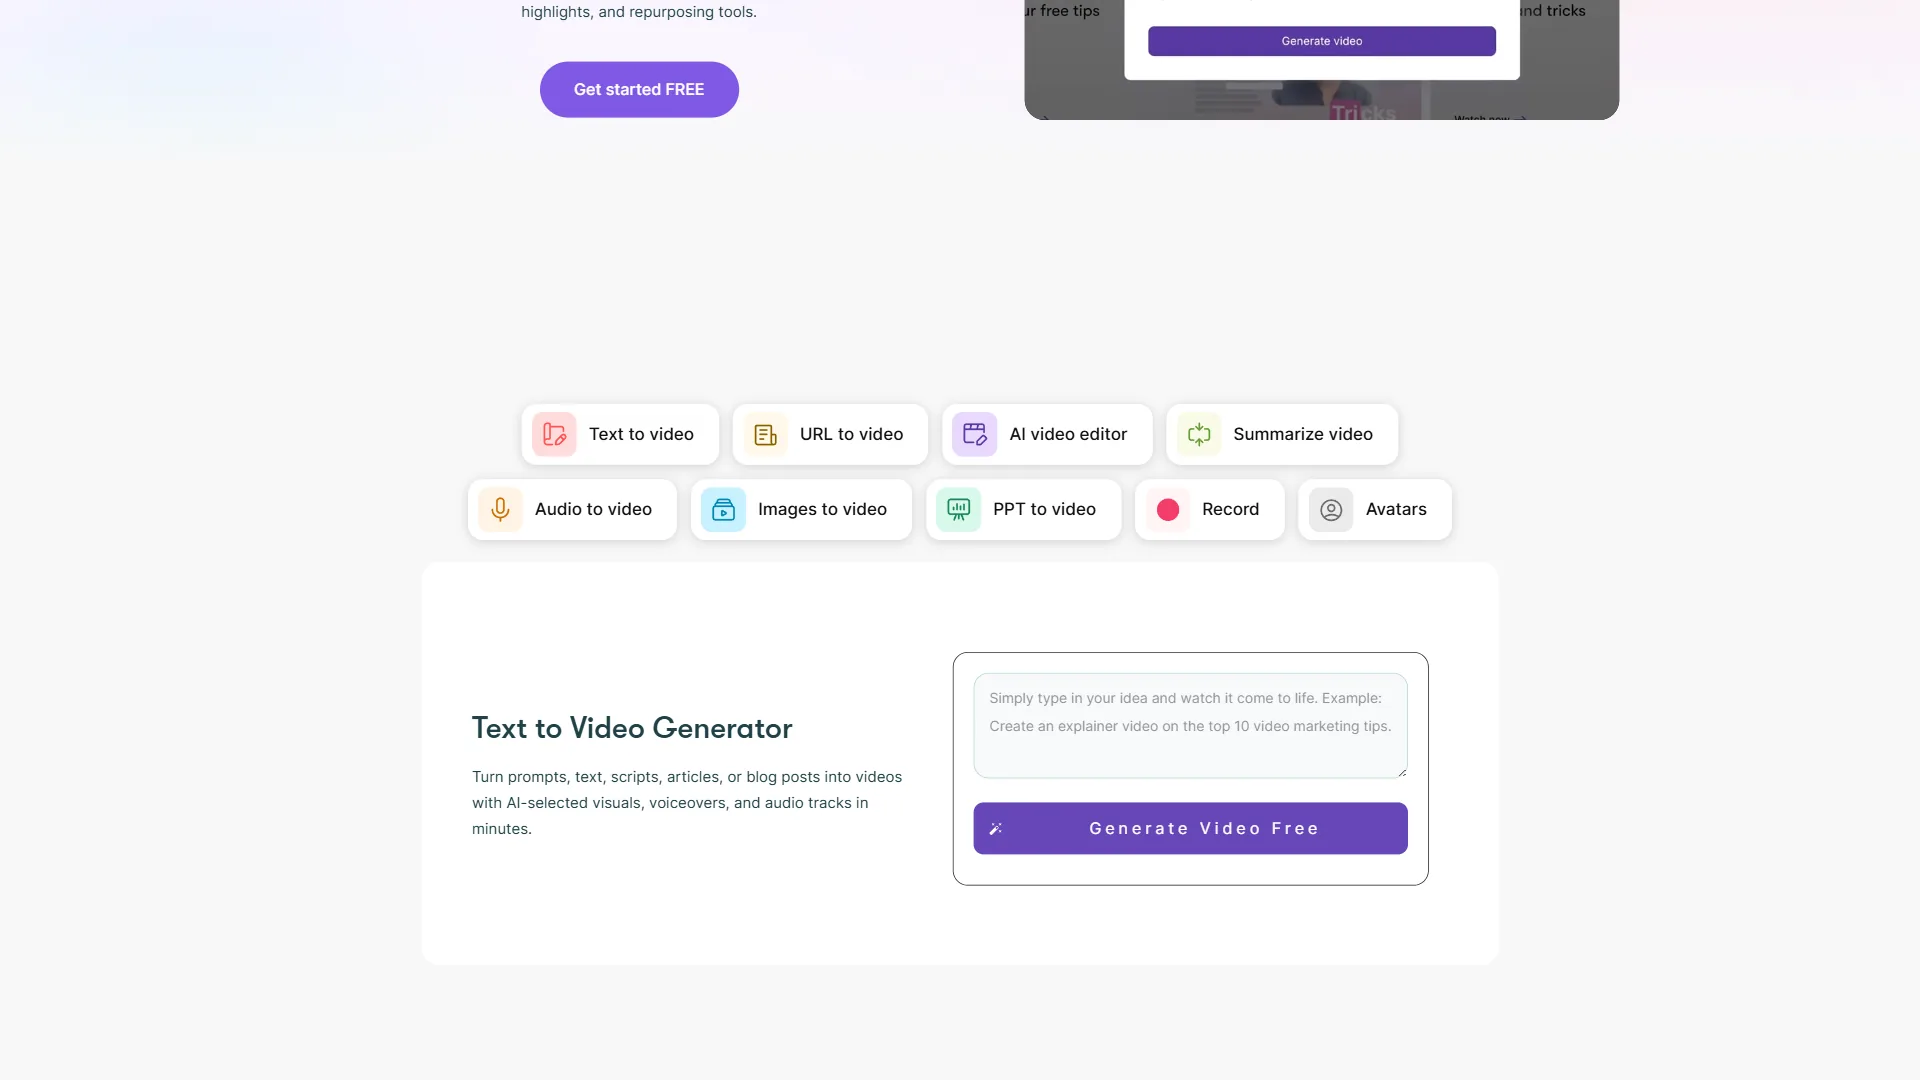
1. Choose Your Input Method
Pictory offers three starting points:
- Script to video (for original scripts)
- Article to video (paste URL or text)
- Edit videos using text (for repurposing existing footage)
For blog-to-video conversion, select Article to video.
2. Paste Your Article or URL
If you have a published blog post, paste the URL. Pictory will:
- Scrape the content
- Identify main points
- Ignore navigation/footer elements
Alternatively, paste raw text directly. Pictory works best with well-structured content (clear headings and short paragraphs).
3. Select a Template
Choose a visual style:
- Modern: Clean, minimalist design
- Colorful: Bright backgrounds with bold text
- Professional: Corporate-friendly layouts
Templates control text styling, layout, and default transitions. You can customize everything later, but starting with the right template saves time. For more video-style strategy, see the Synthesia tutorial tips guide.
4. Review AI-Generated Scenes
Pictory automatically:
- Extracts 5-10 key sentences from your article
- Creates one scene per sentence
- Suggests visuals for each scene
This is where you’ll spend most of your time. Typical adjustments:
- Reorder scenes for better flow
- Combine short scenes to avoid choppy pacing
- Replace AI-selected visuals with more relevant options
5. Add Voiceover
You have three options:
- AI voiceover: Choose from 50+ voices (quality is good but not as natural as Fliki)
- Upload your own recording: For brand consistency
- No voiceover: Just text overlays and music (common for social videos)
For tutorials and explainers, AI voiceover works best. For product demos with a personal brand, recording your own narration and uploading it creates stronger connection.
6. Customize Branding
Click “Branding” to add:
- Your logo (watermark)
- Brand colors
- Custom fonts
This is especially useful if you’re creating multiple videos - branding settings carry over to new projects.
7. Export
Choose resolution (720p or 1080p) and aspect ratio:
- 16:9 for YouTube and webinars
- 9:16 for Instagram Reels and TikTok
- 1:1 for LinkedIn and Facebook
Export takes 3-7 minutes depending on length and resolution.
Pictory Verdict
Best for: Content marketers who need to repurpose blogs into videos. If you already have written content, Pictory’s article-to-video feature will save you hours compared to scripting from scratch.
Limitations: AI voice quality trails behind Fliki. The scene extraction sometimes misses nuance - expect to spend time reordering and combining scenes.
Tool 3: InVideo AI - Best for Creative Control and Templates
Pricing: Plus plan (see current pricing on their website) Time to first video: 20-40 minutes Best for: Social media ads, promotional videos, creative projects with heavy customization
InVideo AI is the pick when you need maximum creative control. It offers 5,000+ templates, advanced animation options, and a powerful editor that content creators love for fine-tuning every detail.
Step-by-Step: Creating a Video with InVideo AI
1. Start with a Template or Blank Canvas
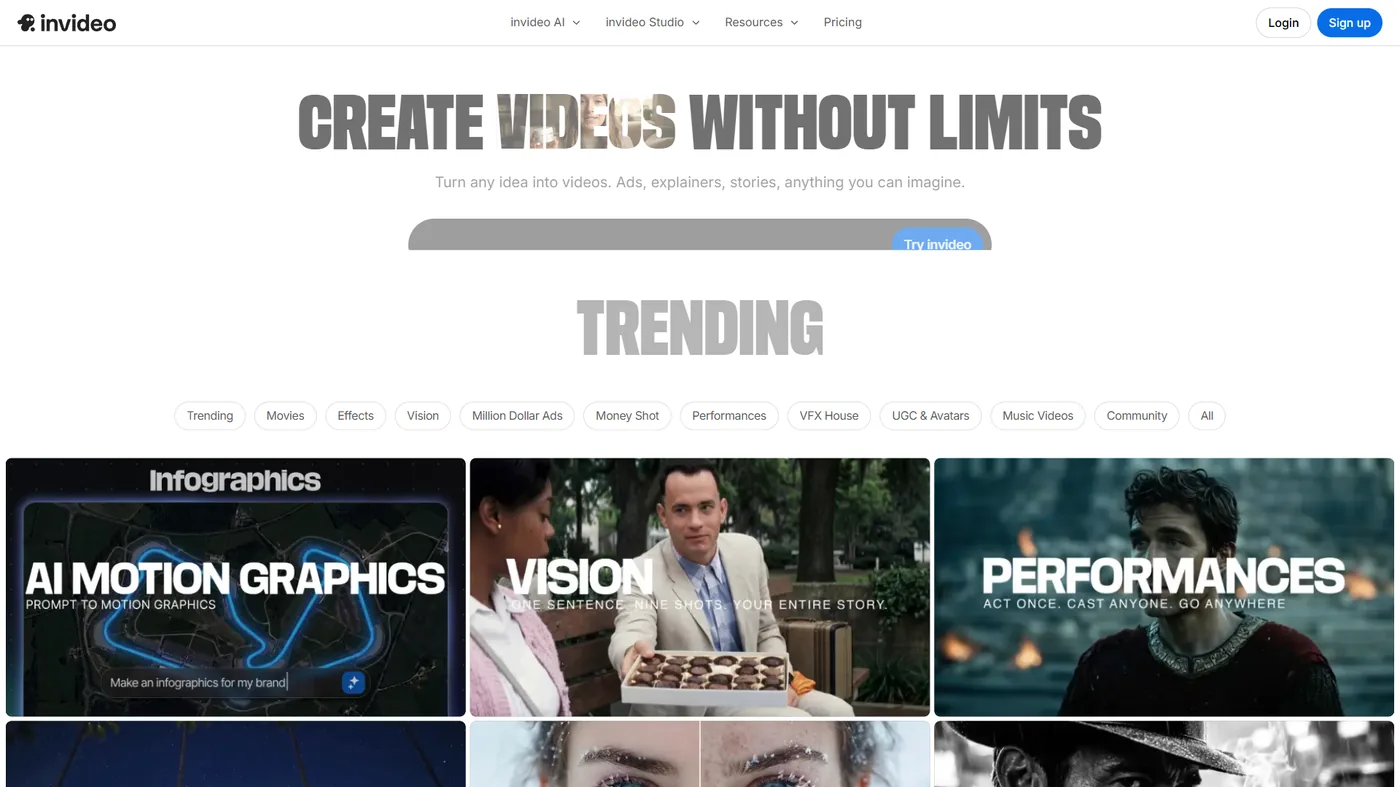
InVideo AI offers two paths:
- Browse templates: 5,000+ pre-made designs for every niche (YouTube intros, product demos, ads, tutorials)
- Start from scratch: Blank canvas for custom projects
For how to convert text to video with AI workflows, starting with a template is the best approach - it provides structure while remaining fully customizable.
2. Add Your Script to Scenes
Once you select a template:
- Click each scene to edit text
- Paste your script sections
- Adjust timing per scene (InVideo shows duration for each)
Unlike Fliki and Pictory, InVideo doesn’t auto-break your script into scenes. You’ll manually assign text to each template scene - this takes longer but gives you precise control over pacing.
3. Customize Visuals
InVideo’s editor is the most powerful of the three tools:
- Replace media: Drag and drop from the media library or upload your own
- Add animations: Choose from 100+ transition effects
- Layer elements: Text overlays, stickers, shapes
Spending 10-15 minutes here fine-tuning visuals is worthwhile. The extra effort shows in the final output - InVideo videos look more polished and less “AI-generated” than the alternatives.
4. Add Voiceover
Click “Voiceover” and choose:
- AI text-to-speech: 100+ voices (quality is middle-tier - better than Pictory, not as good as Fliki)
- Record in-app: Built-in recorder for custom narration
- Upload audio file: For pre-recorded voiceovers
For script to video AI projects, text-to-speech works well for draft versions - then replace it with your own voice for the final export.
5. Add Music and Sound Effects
InVideo includes:
- 500+ royalty-free music tracks
- Sound effects library (clicks, swooshes, ambient sounds)
- Volume controls per scene
The music library is organized by mood (Energetic, Calm, Inspirational, etc.). Choose a track, and InVideo auto-ducks it when voiceover plays.
6. Preview and Export
Click “Preview” to watch the full video. InVideo shows a real-time preview (no waiting for rendering). Once satisfied:
- Click “Export”
- Choose quality (720p or 1080p)
- Select aspect ratio (16:9, 9:16, 1:1)
Export takes 5-10 minutes. InVideo watermarks free exports - you’ll need a paid plan for watermark-free videos.
InVideo AI Verdict
Best for: Marketers and creators who need professional-looking videos with custom animations. If you’re creating social media ads or promotional content, InVideo’s templates and editing power are unmatched.
Limitations: Steeper learning curve than Fliki or Pictory. The manual scene-by-scene approach takes longer - expect 20-40 minutes for your first video (faster once you learn the interface).
Pro Tips for Better AI-Generated Videos
Based on user feedback and documented workflows, here are the key lessons:
1. Write for Video, Not for Reading
Your blog post structure won’t work as-is. Before pasting text:
- Shorten sentences: Voiceover sounds better with concise phrasing
- Add pauses: Use periods or line breaks to control pacing
- Remove jargon: If you wouldn’t say it out loud, rewrite it
2. Always Customize AI-Selected Visuals
The AI picks relevant footage about 60-70% of the time. The remaining 30-40% will be generic or mismatched. Spend time replacing:
- Stock photos that look too staged
- Videos with distracting movement
- Footage that doesn’t match your script’s tone
3. Use B-Roll for Transitions
Don’t rely solely on the AI’s visual suggestions. Add B-roll:
- Screenshots of the tool you’re discussing
- Diagrams or charts (if explaining data)
- Your own footage (if you have it)
4. Test Multiple Voices
Don’t settle for the default voice. Listen to 5-10 samples and choose based on:
- Tone: Does it match your brand? (professional vs. casual)
- Pacing: Some voices are naturally faster or slower
- Accent: Regional accents can help or hurt depending on your audience
5. Keep Videos Under 3 Minutes (for Social)
For YouTube, LinkedIn, and Instagram, shorter is better:
- 30-60 seconds: Hooks and teasers
- 1-2 minutes: Quick tips and explainers
- 2-3 minutes: Tutorials and product demos
If your script is longer, consider splitting it into a series. Wistia’s video length research backs up the under-3-minute rule for social engagement.
Common Mistakes to Avoid
1. Not Reviewing Before Export
The AI will make mistakes - mismatched visuals, awkward pacing, mispronounced words. Always preview the full video and check:
- Does the voiceover sound natural?
- Do visuals match the narration?
- Are transitions smooth?
Skipping this step often leads to hours wasted re-exporting videos.
2. Using the First Voice You Hear
The default voice is rarely the best option. Test 3-5 voices before committing. Pay attention to:
- Pronunciation of technical terms
- Emphasis on key words
- Overall tone and energy
3. Ignoring Background Music Volume
Background music should enhance the video, not compete with the voiceover. If viewers have to strain to hear the narration, the music is too loud. Most tools auto-balance, but always listen to the final mix.
4. Not Optimizing for Platform
Each platform has different requirements:
- YouTube: 16:9, 1080p minimum (see YouTube’s official upload guidelines)
- Instagram Reels/TikTok: 9:16, vertical format
- LinkedIn: 1:1 square works best
Export multiple versions if you’re posting across platforms.
Text to Video AI Tools: Which Should You Choose?
Here’s a decision framework based on each tool’s strengths:
| Use Case | Recommended Tool | Why |
|---|---|---|
| Quick explainer videos | Fliki | Fastest workflow, best voiceovers |
| Blog-to-video repurposing | Pictory | Article extraction saves time |
| Social media ads | InVideo AI | Best templates and customization |
| YouTube tutorials | Fliki or InVideo | High-quality output, professional look |
| Budget-conscious | Fliki | Strong value for the price |
For those just starting with AI text to video generators, Fliki is the best entry point. It has the shortest learning curve and produces professional results quickly. Once you’re comfortable with the basics, explore Pictory for content repurposing or InVideo AI for advanced customization.
Final Thoughts
Text-to-video AI dramatically reduces video production time - from 3-4 hours per video to 20-30 minutes. For more workflow tips, see our AI video creation tips. The tools aren’t perfect (you’ll still need to review and customize), but they eliminate the most tedious parts of video creation: finding footage, syncing audio, and timing transitions.
To get started, write a short script (300-500 words), sign up for a free trial with any of the three tools above, and create a test video using the steps in this guide. If you want to explore more AI video tools, check out the complete guide to the best AI video generators in 2026. And if you’re specifically interested in Fliki’s advanced features, read the in-depth Fliki review.
For more information about text to video ai tools, see the resources below.
Frequently Asked Questions
How long does it take to create a video from text with AI tools?
The entire text to video workflow typically takes 15-30 minutes once you know the tools. Fliki is fastest at 10-15 minutes for first video, while Pictory runs 15-25 minutes because scene extraction and reordering take longer. Export itself takes 2-7 minutes depending on video length and resolution.
What script length works best for text to video AI tools?
Scripts of 300-2000 words work best. Most AI text to video generators perform better when you give them structured input with clear headings, bullet points, or separated paragraphs. Dumping a wall of unformatted text rarely produces good results on the first try, so clean formatting and clear structure matter before you paste.
Which text to video AI tool has the best voiceover quality?
Fliki is widely regarded as having the best AI voiceovers, with over 2,500 voices across 75+ languages. Many sound remarkably human, and standouts include Marcus, Aria, and Sara. Pictory offers 50+ voices with good quality, but its AI voice quality trails behind Fliki for narrated explainers and YouTube videos.
Should I use Fliki or Pictory for repurposing blog posts into videos?
Pictory is better for repurposing long-form content. Its article-to-video feature scrapes a published URL, identifies main points, ignores navigation, and extracts 5-10 key sentences into scenes. Content marketers with existing blog posts save hours versus scripting from scratch. Fliki suits quick social clips and narrated explainers more than blog repurposing.
Want to learn more about Pictory?
Related Guides
- Pictory Articles to Videos - Article-to-video deep dive
- AI Video Creation Tips - General video production tips
- Best AI Video Generators 2026 - Video AI compared
Related Reads
Tools covered in this article:
- Fliki - AI text-to-video generator
- Pictory - Blog-to-video conversion
- InVideo - Video editing with templates
External Resources
For official documentation and updates from these text-to-video platforms:
- Fliki Blog - AI voiceover updates and video creation tutorials
- Pictory Blog - Article-to-video workflows and content repurposing strategies
- InVideo Blog - Video template guides and AI editing feature updates